Monday, December 31, 2018

Honey Bee gift card holders!

Happy New Years Eve!  I can't believe 2018 is already over, seems that the year just flew by! I hope you have all had a wonderful holiday season so far! 


I am sharing some super quick and fun Honey Bee gift card holders. The holidays often bring last minute thank you's and these are perfect for a coffee card! 

I used the fantastic Frappe Shake Card Honey Cuts dies and cut the tops (I didn't have 12x12 paper on-hand) to act as a latte gift card holder. Once those were die cut from Neena Desert Storm I took out one of the four Honey Bee Polka Dot Stencils (second largest) and used my Tonic Glitter Paste in Seaweed Quartz and Plum Spinel (these colors of embossing paste are just beautiful and they dry super quickly)


I put them to the side to dry and die cut my tops from Neena 80lbs cardstock and the sleeves from Lawn Fawn white Woodgrain cardstock and ink blended some Distress Hickory Smoke Ink. I then die cut the Enjoy sentiment also by Honey Bee from Tonic Specialty paper for both the enjoy and the shadow.


The sleeve slips off to reveal the inside of the card and the gift card. To finish off my two gift cards, I used the Hello Bluebird Holly and Pine dies in the matching paper and some Lawn Trimmings.

I wish all of you a wonderful 2019 and if you are out tonight, drive safe!
Thanks for taking the time!
Kim


Wednesday, December 26, 2018

Simon Says: Anything Goes featuring Stampendous!

Happy Boxing Day! I hope you all enjoyed  Christmas! It's Wednesday and that means it's time for a new Simon Says Stamp Wednesday Challenge!


This week Simon Says: Anything Goes! The design team is featuring Stampendous products, it isn't a requirement to use them but if you have them we would love to see them!

Come join in on the fun, you have the chance of winning a $50 gift card to the fantastic Simon Says Stamp store!


This was such a fun and easy card to put together! I used the Sunny Hello Cling Stamp by Stampendous. The scale of this image is so nice for a card front!


I stamped my image with Versafine Onyx Black on Bristol Smooth cardstock to be able to color with Zig Clean Color Real Brush Markers. I haven't used them in a while and it is so quick to color and blend with these markers. Once I had coloured my sun and the the cloud I took out my favorite cloud stencil by MFT and used a rainbow array of Distress Inks to blend my clouds on the background.


To finish off this super quick card, I added rainbow sequins by Studio Katia!!


Follow Simon Says Stamp on Instagram

Thanks for taking the time!

Kim :)


Monday, December 24, 2018

Winter Fun!

Happy Christmas Eve! Today is my last 2018 post for A Blog Named Hero! 

For my card, the inspiration was the fun Sledding Stamp and Cut by Hero Arts. I just love this dog! I stamped my images and used my Copic markers to color the dog, sled and mouse. I used the accompanying dies and set them aside to work on my background panel.

I used Distress Oxide in Squeezed Lemonade, Picked Raspberry and Wilted Violet for my background. Once the blending was complete I used my Distress Sprayer and some Picket Fence Distress Paint for the snow effect. I then die cut my full panel using the Hero Arts Rounded Rectangles and added a frame die cut from Mirror Cardstock.

Placed all of my elements on the card base and finished off with some Hero Arts snowflakes, stars and a mix of Nuvo Drops!

I hope you have a very Happy Holiday Season spent with loved ones!
Kim

Friday, December 21, 2018

Neat & Tangled

Happy Friday crafty friends! The start of a two-week Christmas break today! The time with family and friends will recharge my batteries. I look forward to Christmas so much every year!

Today I am sharing three Neat and Tangled projects that I taught at my local store this month :) I forgot to share them earlier with all the Christmas prep!


I am addicted to both Critters and a good CAS card. These deer from Neat and Tangled are just so sweet. I ink blended some Salty Ocean Distress Ink on my Neena background panel and added some water with my Distress Sprayer. 

 I die cut the panel using my Avery Elle Wonky Stitches Rectangle die.  I coloured my images with Copics and used the accompanying die cuts. I put the card together and added some Pretty Pink Posh Sparkling clear sequins.


I also did ink blending on this Neena panel using Squeezed Lemonade and Abandoned Coral Distress Ink.  Die cut the panel using the same Avery Elle die as above.  Colored my Hyppo and accessories with Copics.

I stamped my Sunshine sentiment with the Abandoned Coral Distress Oxide. I love the stamping quality of the Oxide Inks. Put everything together and added some Neat and Tangled sequins in matching colors.


I colored my rainbow monster and sentiment with Copics as well and die cut everything with accompanying dies. I decided to add an Avery Elle polka dot background die cut from Lawn Fawn Black Licorice paper. I found it offset the rainbow! 

I also die cut the Neat and Tangled box die from Lawn Fawn Paper Bag paper and placed my monster in there! 

Thanks for taking the time!
Kim

I am having problems with my product link, will try to add it later! 


Wednesday, December 19, 2018

Simon Says: Party Time!

It's Wednesday crafty friends and that means it's time for a new Simon Says Stamp Wednesday Challenge!


This week Simon Says: Party Time! The design team is featuring Your Next Stamp products, it isn't a requirement to use them but if you have them we would love to see them!

Come join in on the fun, you have the chance of winning a $50 gift card to the fantastic Simon Says Stamp store!


I had such fun with the card! It was so nice to make a colourful non-Christmas project! Not that I don't love the holidays but I think you can all agree that after two months of Christmas projects it is nice to use a rainbow again! 


I simply adore Your Next Stamp products, they are such fun to play with and this Photo Booth set had me smiling!

I started by die-cutting my Polaroid Fun dies by Mama Elephant using Neena 80lbs cardstock. I then used my Misti to stamp the three selected images on the back panel of the small polaroid die.

I coloured them using my favorite Copic colors for critters (listed below). I the die cut a colored backing frame from some Doodlebug pattern paper. I also cut a full piece of the Doodle bug for my background.


I embossed my Neena panel using a new We R Memory Keepers 3D embossing folder for texture.  I placed all of my images to the panel and added some rainbow Washi to the tops of the Polaroids.  To finish off I added my sentiment by My Favorite Things and some Studio Katia rainbow sequins topped off with some silver Seed Beads.


Follow Simon Says Stamp on Instagram

Products used are listed and linked below, affiliate links used at no extra cost to you!
Thanks for taking the time!


Kim :)


Tuesday, December 18, 2018

All you need is love!

Hello crafty friends! This beautiful stamp set from the latest Simon Says Stamp release "You Are Loved" appeared in my mailbox yesterday! I couldn't resist playing with it last night.  I am into to rainbows lately, I think I have had enough of the holiday themed cards! lol


I used these hearts for the Ornate Love stamp set, I just love the detail in the them. This set also features a gorgeous larger detailed heart which I can't wait to color! 


I stamped out my hearts in rainbow order and added a simple black sentiment from the same set.  I die cut the side of the panel using a Lawn Fawn dotted line border and cut the excess of the panel off to be able to put this sweet yellow Doddlebug paper.


This card was so easy to put together and I love the fresh happy colors.

Thanks so much for taking the time! Products listed and linked below, affiliate links used at no extra cost to you!

Kim


Saturday, December 15, 2018

A Blog Named Hero: Winter!

Happy Saturday crafty friends! Time for a new challenge over at A Blog Named Hero! This month we are focusing on Winter!
The beginning of Winter for me is always about Christmas and the joys of the Season! So for my project today, I chose the Color Layering Trimmings :)


This was such a fun and easy card to put together. I started with my Neena 80lbs panel and die cut it with a Rounded Rectangle die and stamped my branches? (Not sure what to call them) in a random pattern on the background and went back with the second layer.


I then added the pinecones and I made my own berries with a blending stick and red ink. Once that was complete I added some white gel pen detail to the berries.


For my sentiment, I die cut some Tonic Red Organza Mirror cardstock from the Hero Arts Rounded Rectangles and white embossed my sentiment from the same stamp set.  I also added the bow from the set on the top.

If you are looking for quick last minute Christmas cards this set is so fun and easy!
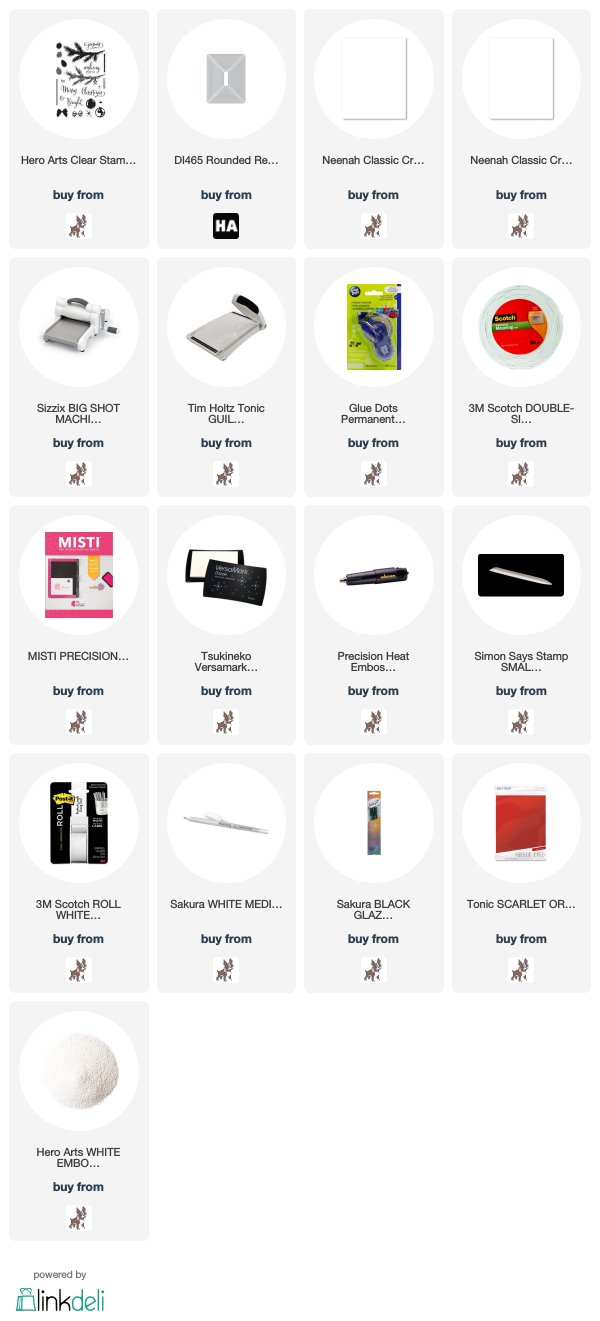
Thanks for taking the time all the products used are linked and listed below. Affiliate links used at no extra cost to you!

Kim


Wednesday, December 12, 2018

Simon Says: Christmas!

It's Wednesday crafty friends and that means it's time for a new Simon Says Stamp Wednesday Challenge!


This week Simon Says: Christmas! The design team is featuring Creative Expressions products, it isn't a requirement to use them but if you have them we would love to see them!

Come join in on the fun, you have the chance of winning a $50 gift card to the fantastic Simon Says Stamp store!


I had such fun with this scene! I started by ink blending my Peacock Feathers, Chipped Sapphire and Black Soot Distress Inks on a piece of 80lbs Neena Solar White. I then sprayed my panel with shimmer spray and set it aside to dry.


I then stamped my images from the Mama Elephant Santa's Sleigh and coloured them with my Copics. I then used the accompanying dies, I added some diamond glitter to the sleigh, snow marker to my Santa and Christmas red tickles to the big reindeer's nose. I added my gold ribbon and attached my images with foam tape onto the base panel.


I die cut the beautiful Jingle Bells script from Creative Expressions from black glitter cardstock and placed it on the panel. To finish off my card, I added some jingle bells and a mix of Hero Arts sequins on the background.


Follow Simon Says Stamp on Instagram

Products used are listed and linked below, affiliate links used at no extra cost to you!
Thanks for taking the time!


Kim :)

Monday, December 10, 2018

Honeybee Ornament Snowpeople

Happy Monday crafty friends! I am sharing a two fun cards featuring Honeybee Stamps products today.  I just ordered these fantastic Globe and Ornament Shaker products that were released last year I believe and I am in love with this die set.


I was anxious to use my snow people by Honeybee and I thought with the scale they would be perfect to mix with the Globe and Ornament shaker set.  I started by stamping my snowpeople on Neena 110lbs carstock and also stamped them on masking paper.  I cut my masks covered the snow people and ink blended some Distress Oxide Inks. I used Black Soot, Faded Jeans and Peacock Feathers on one background and for the other also Black Soot, Faded Jeans and Evergreen Bough.


I added some snowflakes once the backgrounds were dry enough to white emboss. I then coloured my images with Copic markers.  I die cut all of the other elements for my shaker from Mirrored and Glitter Cardstocks.  I added a mix of shaker materials in both that color coordinated with my frames.


I put everything together using my 3M foam tape and finished off with the Noel die cut sentiment. These were such fun to put together.

All of the products used are linked and listed below, affiliate links used at no extra cost to you!
Thanks for taking the time!
Kim

Wednesday, December 5, 2018

Simon Says: Wrap It Up!

It's Wednesday crafty friends and that means it's time for a new Simon Says Stamp Wednesday Challenge!


This week Simon Says: Wrap It Up! The design team is featuring Tim Holtz products, it isn't a requirement to use them but if you have them we would love to see them!

Come join in on the fun, you have the chance of winning a $50 gift card to the fantastic Simon Says Stamp store!


I decided to use the Mini Halftones by Tim Holtz for my gift bag today. I love these images and the "shadow" effect they offer.  I started by die cutting my Mama Elephant gift bag from Neena 110lbs cardstock.  I then stamped out all of my elements using PostIt tape to mask off the sides with Simon Says Stamp Smoke ink for the shadows and both Versafine Onyx black (snowman) and Lucky Clover Oxide (trees)


I then stamped various snowflakes and embossed them with Simon Says Stamp silver embossing powder. Once that was done, I used Evergreen Bough Distress Ink and lightly blended it on the background.  I added some Cool Grey Copic shading to the bottom of my images.

I then added Nuvo drops (all colors listed and linked below) to my trees and the snowman.


I stamped the snowflake (Evergreen Bough Oxide and sentiment from the mini halftones on one of the Tim Holtz Wood Slices and added that with a Lawn Fawn stitched snowflake tag to the top of my bag.

To finish off I added some red tissue paper. I love these typed of bags, they are perfect for a small gift or gift card!


Follow Simon Says Stamp on Instagram

Products used are listed and linked below, affiliate links used at no extra cost to you!
Thanks for taking the time!


Kim :)