Friday, March 30, 2018

CFC196 - Spring Fever!

Happy Friday crafty friends! I have been so looking forward to the Easter break, four days away from work with family and friends always makes a difference!

Time for a new CAS-ual Fridays Challenge, we are focusing on Spring Fever!


My project today features the new CAS-ual Fridays Somebunny stamp set! I can't even, look at that bunny! I tried my hand at some no-line Copic coloring and some added pencil detail to make her look furry! Not sure I have the technique down, but I am happy I tried it and it does give added dimension and texture. I am really in love with this set and the fun accompanying sentiments are super fun. I used some Spring like violet colors for the clouds and in my choice of Copics.

To finish off the project, I added some glitter Fun-Fetti hearts and a white and silver pompom for her tail!


Join us at the CAS-ual Fridays Challenge blog for the chance to win $25 worth of CAS-ual Fridays Stamps and, drum roll please... Michelle with double the prize if you use CAS-ual Fridays stamps!


Thanks so much for taking the time!
Kim


Wednesday, March 28, 2018

Hello Bluebird!

Happy hump day! As many of you crafters, I have been dying to play with Hello Bluebird stamps!  I was able to get one set from Butterfly Reflections and I couldn't wait to play!


For those of you that follow my blog or Instagram know I love a good critter and Hello Bluebird does not disappoint! The dies for this set were unavailable when I ordered so I decided to build a jungle theme with some masking. The way I laid out my images made the masking limited so I really didn't mind doing it and there is something about building a scene direct to paper as opposed to die cutting everything.


This set is called Jungle Littles and look at their adorable faces! Once I stamped the background scene I used my Copics to color them in and add dot detail to all three "littles". I also stamped and masked a bunch of leaves on the bottom and colored them in as well.  Once all my coloring was done, I used my MFT small cloud stencil with Salty Ocean Oxide Ink and colored the sky. I die cut the Bayou Backdrop by Lawn fawn to place on top for my jungle scene I though it was nice mix.


Once I finished my images and placed the frame on top I felt it was missing some color and dimension so I added hearts on the panel and I colored more leaves and the flower from the Jungle Littles set. I fussy cut the images and placed them around the frame and on the bottom of my project. I put the panel on a card base and that was it! I have since been able to order another set and matching dies for this set and the new one! Can't wait to receive them!

Thanks for taking the time,
Kim


Monday, March 26, 2018

Lawn Fawnatics Challenge 25 - Color Inspiration :)

Happy Monday! I think all crafters can relate to the inspiration of everything rainbow! The Lawn Fawnatics Challenge Blog turns one and the inspiration for the challenge is color inspiration!


I was lucky enough to take a class taught by Jenn Shurkus over the weekend at my local scrapbook store - Scrapbook Centrale aka my happy place! I can see why she decided to start teaching full-time, she is gracious and patient and really takes the time with her participants. I have recently begun teaching myself and I am so happy I went, you learn from someone like her - her personality and passion are infectious! 

So for my card, if any of you follow this blog you will undoubtably expect me to do a rainbow theme! LOL


Not only did I go rainbow I went with wonky Fro-Yo! I just felt like having fun with this project. What better than pile of rainbow frozen yogurt from the Sweet Friends stamp set. I stamped my first image on the top and re-stamped it on a sticky PostIt note and fussy cut my mask. I place it on top of the first and continued down, I did need to cut a second mask but not the whole image just the cup.


Once I was done I used my Copics to color the images. I then chose one of the fantastic Really Rainbow Petite 6x6 papers for the background and die cut that using my largest Stitched Rectangle die.  I cut down my A2 size panel with the frozen yogurt and decided to add a little detail by using one of the stitched border dies. I then added "sprinkles" to the frozen yogurt using my white Gellyroll pen. I put my card together and stamped the sentiment also from the Sweet Friends stamp set on Lawn Fawn black card stock and white embossed it. The sequins are new from Studio Katia and they have a really pretty iridescent finish to them.


Go check out the challenge, they always have super fun themes.
Thanks for taking the time,
Kim

Saturday, March 24, 2018

Going Green in March!


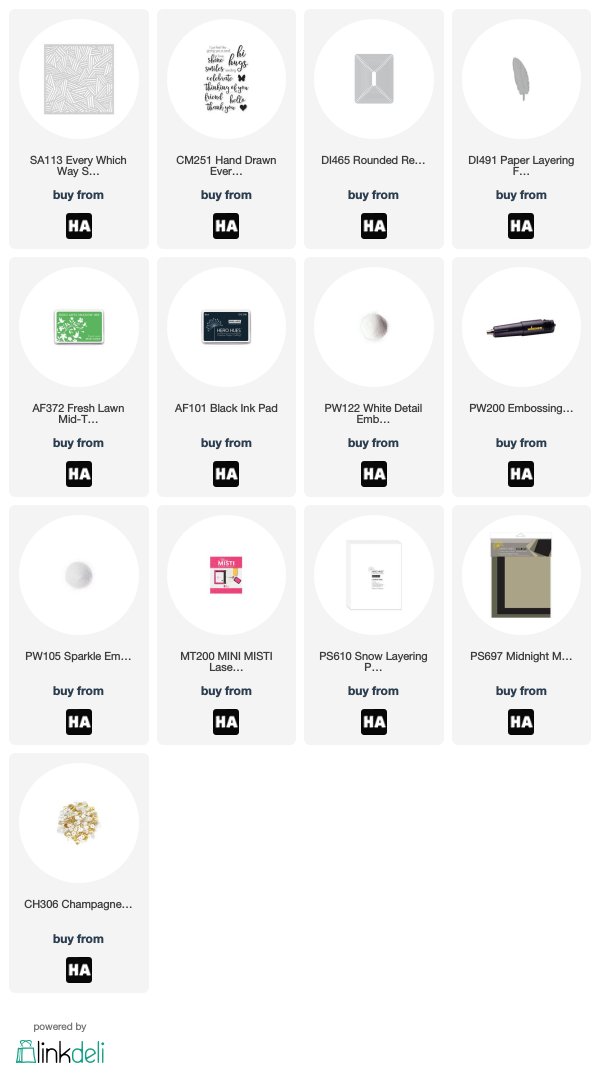
Happy Saturday! I am over at A Blog Named Hero this morning sharing more of my newer Hero Arts favorites! Our new challenge started on March 15 and it's all about your favorites! All of the products used are listed at the end of my post!


To start with green is my favorite color, and Hero Arts Fresh Lawn is my favorite green among the entire selection. So I decided to use this gorgeous color with the new Every Which Way stencil. Once I was done with my blending on top of the stencil, I went over the entire panel with a light hand and the same ink. I die cut the panel using the new (my new staple dies) Rounded Rectangle dies.


I placed my panel in the Misti to stamp the hugs from the new Hand Drawn Every Day messages in Hero Arts Black die ink. I also die cut my Paper Layering Feather (love this die) and placed it over the centre of my panel and inked again. I wanted to add foam tape and have the sentiment be seamless on both. I added a little black marker over the sides of the feather where the sentiment was stamped to ensure that there were no white areas. One that was done, I took my stencil and placed it back on top of the panel and added embossing ink, I then used Hero Arts Sparkle Embossing powder to give a light glitter effect. It looks beautiful in real life you can see it slightly in the first picture.


Once that was done, I die cut a piece of black paper from the Midnight Mixed Layering papers to back the panel. I also embossed the sending sentiment also from the Hand Drawn Everyday Messages using Hero Arts White Detail embossing powder and added my feather and smaller sentiment on the base panel. I put my panel on top of a card base cut from Snow Layering Paper and added some clear sequins from the Champagne sequin mix and some Nuvo drops.


Thanks so much for taking the time!
Kim


Wednesday, March 21, 2018

Avery Elle Party Pals

Happy hump day crafty friends! For those of you that follow my blog, you will undoubtedly know how much I love a good critter. So when I saw this Party Pals set by Avery Elle, I had to have it!

My best childhood friend has a birthday this week and I have a standing tradition that I make one card from my husband and I and one card from the family pets (strange, but true). So on this one, I decided to feature the cats from the set and turn them into my cat Tigrou (grey tabby) and her cat Cooper (orange tabby).


To start, I knew I wanted to add some of the new Lawn Fawn 6x6 Really Rainbow Petite paper, I love this paper pad I am on my second already... So, that made my color choices easy enough!  My friends favorite color is purple, so that also had to be a major element. 


I stamped my images using my Misti with Lawn Fawn jet black Ink and colored the Happy sentiment also from the Party Pals set in rainbow order and used three of the same colors for the balloons in the same set. I then colored my little guys (all Copics for these images) in tabby fashion.


I used the co-ordinating dies and then took my piece of Neena Solar White and die cut the border with a Lawn Fawn stitched border die (cut off the excess of the A2 size panel). I then used a small piece of the rainbow card stock and glued that to the card base. I then glued fun foam on the back of the white panel and placed it on my card base.  I glued all of my elements only to have forgotten to stamp the black birthday sentiment. Thankfully I had used a full piece of fun foam therefore making the stamping a lot smoother.  I used 3m foam tape for the images and added some rainbow gems by Lucy's little things.

Thanks for taking the time!
Kim

Monday, March 19, 2018

Spring Hello!

Happy Monday! We are having a cold spell in Montréal, really cold spell lol! I am anxiously awaiting the arrival of Spring this week and some warmer temps! I decided to imagine spring flowers with this Mama Elephant stamp.


I wanted to play with some no-line Copic coloring and this stamp Botanic Hello seemed perfect for that! It isn't a new stamp but I just purchased it so it's new to me!


I started by coloring my flowers in rainbow order with BV00, BV02, BV11, BV13,   RV52, RV55, YR00, YR01, YR04, Y17, Y15,Y11, BG10, BG11, BG13, B00, B02, B04, YG17, YG21 and YG23 I then used N4 and N2 to shade the Hello.


Once the coloring was complete I die cut my panel with the large die from the Mama Elephant Cloud Nine die and then added black detail to the flower centres and to the Hello to try and make it pop a little. I then white embossed the secondary sentiment on black card stock and finished the project with a Rainbow of Pretty Pink Posh Jewels.

Thanks so much for taking the time!
Kim

Saturday, March 17, 2018

Happy St-Patrick's Day!

Happy St-Patrick's Day, my favorite day of the year! I am Irish on my Mom's side and St-Patrick's Day is the one day of the year that no one can ruin my mood, lol! 

Here is an Irish blessing for all of you:


May the sun shine, all day long,
everything go right, and nothing wrong.
May those you love bring love back to you,
and may all the wishes you wish come true!

My project today features all Lawn Fawn and My Favorite Things products and all of these products are available at Butterfly Reflections Ink.


I figured shamrocks and a rainbow would be appropriate for my project today. I started with my MFT Cloud Stencil (this is my favorite stencil) with a variety of Distress Oxide Inks on my background panel. I then die cut my Lawn Fawn Rainbow from multiple Lawn Fawn and MFT card stocks and glued it on the panel.


I colored my Shamrocks from the Lawn Fawn My Luck Charm stamp set with my Copic markers and used the accompanying dies.  The Cheers die is by MFT and I die cut that from matching green glitter card stock and the smaller sentiment is from Lawn Fawn's Happy, Happy, Happy Add-on set. I then die cut extra clouds using the MFT Stitched Cloud dies 


I put all of my elements on the panel and I felt there was missing a little something so I colored in the cute bird from the MFT Birthday Chick stamp set and the hat and bow tie are from the Lawn Fawn Snow Cool stamp set placed him on one of the clouds. To finish off I added some Pretty Pink Posh Shamrock Jewels

Wishing you all a great St-Paddy's Day :) thanks for taking the time and if any of these products are backordered simply select the notify me option, Vanessa re-stocks super fast!
Kim

Friday, March 16, 2018

CAS-ual Fridays - Going Green!

Happy Friday! Time for another CAS-ual Fridays Challenge! The theme is Going Green in honour of St-Patrick's Day! My husband and I are both Irish on our Mom's sides therefore March 17 is a biggie in our house!

I had such fun with this project using green alcohol inks and some gold foil for my larger layer of hearts and some new Tonic glitter card stock for the smaller layer.


I used the Cupid's Arrows heart dies to form the shape of my Shamrock. I die cut four of the stacked heart from my alcohol inked paper and then another four from my Tonic Shamrock Green glitter card stock.  I glued them to my base panel in the shape of a Shamrock :) I chose the sentiment (I felt this was completely appropriate for St-Patrick's day, lol) from the Shenanigans stamp set.


Go on over to the shop, Michele has a 17% discount in honour of March 17!


Join us at the CAS-ual Fridays Challenge blog for the chance to win $25 worth of CAS-ual Fridays Stamps and, drum roll please... Michelle with double the prize if you use CAS-ual Fridays stamps!


Thanks so much for taking the time!
Kim

Thursday, March 15, 2018

Hero Arts - Use Your Favorite!

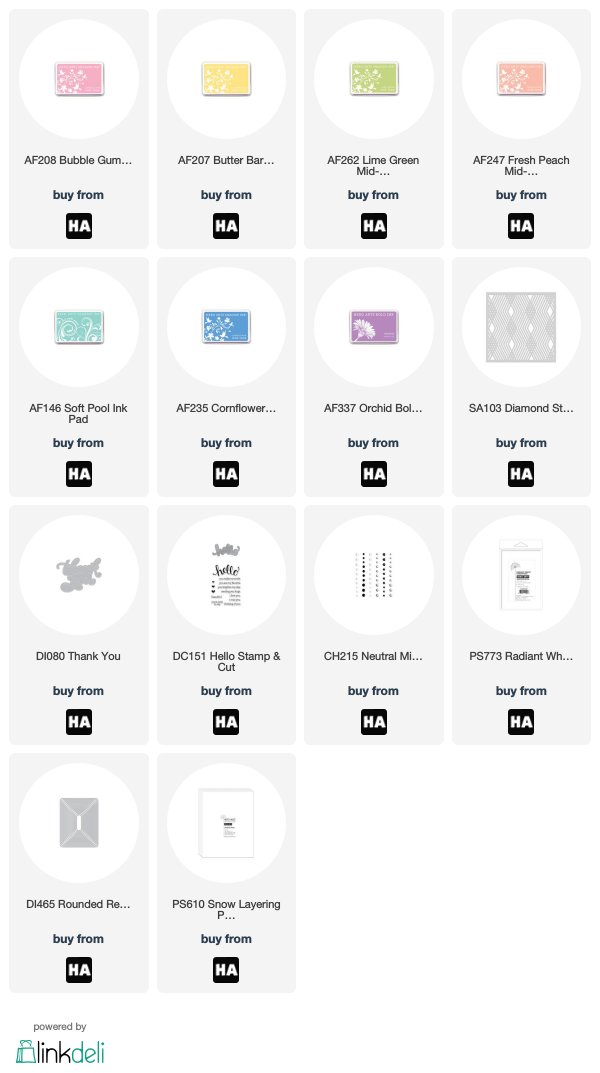
Happy Thursday crafty friends and welcome to the first A Blog Named Hero challenge of 2018! This was a fun challenge to prepare for, I have so many favourites from Hero Arts but I managed to narrow it down, lol!


Let's talk a bit about the favourites I used today (all products listed at the bottom of this post). I started with inks, I love Hero Arts ink. They were the first ink line I invested in and they are still, not only my favourite, I have never needed to re-ink them!


The Thank You die was my starting point, this was probably the first large word die that I purchased when it was released and I just love the size and font. I figured what is better than a rainbow to frame a bold sentiment!


Another favourite product line for me are the stencils! I took my Diamond stencil with a piece of HA Radiant White card stock and went to town and ink blended Bubble Gum, Fresh Peach, Butter Bar, Lime Green, Soft Pool and Cornflower Shadow Ink and Orchid Bold Ink. Once I removed my stencil, I went over the panel again with a light blending of all the same inks. I die cut the panel with the new Rounded Rectangle Infinity Dies (these dies have my little heart!)


I die cut my Thank You from a piece of Radiant White card stock with fun foam and StickIt to give it dimensions and turn it into a sticker. I then used a secondary sentiment from the HA Hello Stamp and Cut and I white embossed it on black card stock.  I placed my sentiments on my panel and finished the design with some HA gems from the Neutral Mix.

Thanks so much for taking the time! Go over to A Blog Named Hero for more inspiration and to enter the challenge!


Monday, March 12, 2018

No-line coloring with Zig Clean Color Real Brush Markers and Altenew

Happy Monday! I am so happy we are in daylight savings time, makes me feel like winter is gone (or at least close to gone)! I was playing around with my Altenew Frosted Garden stamp set and decided to try some no-line coloring with my Zig markers.


I placed all of my images on my panel in my Misti and stamped them using Antique Linen Distress ink. I had already decided to only color one flower as the focus of the project but used my Misti to reposition the panel to emboss the other images once I was done coloring. 


I used Peach Pink and Sugared Almond Pink for the flower. I did a quick wash with the Sugared Almond (and a water brush) then went back to add definition with the Peach Pink then repeated the same process for the leaves with Pale Green, May Green and then Deep Green


I placed my panel back in the Misti once my flower was dry and decided to used Rose Gold embossing to bring out the Sugared Almond pink in the flower. I wasn't too sure at first if I liked the effect but once I added the black sentiment (the Awesome die is by Neat and Tangled and the You Are is by Avery Elle) it seemed to tie the project together. To finish off I added some Studio Katia Black gems.

Thanks for taking the time!
Kim


Friday, March 9, 2018

Lawn Fawnatics - Fun with Dies

Happy Fri-yay! It was Spring Break this week in Quebec (not sure why, we are still in the thick of winter) but it was quiet for me at work and I was able to catch-up on some paperwork! I haven't submitted a project to a Lawn Fawnatics challenge in a while and I started playing with my new release products.

The challenge is Fun with Dies, I love Lawn Fawn dies this was a fun project for me and I haven't made a critter card in a while.


I mean this sloth! How cute is he and he was perfect to fit into the frame die. I wanted to use my new Really Rainbow 6x6 paper pack so I started by die cutting my background and chose complementary colors to die cut my Mini Picture Frame. I stamped my sloth and the birthday hat from last years sloth set using Lawn Fawn Jet Black Ink to use my Copics. I used the matching dies and started placing my elements to decided on a sentiment.


I went with the one of the stamps and dies from the original Happy, Happy Happy set. The original stamp has lines but I didn't want it to compete with the background stripes so I simply used my VersMark pen and made them solid lines. I white embossed the sentiment and die cut it.

I then stamped the Birthday from the same set on the smaller Lawn Fawn banner die but cut the die to size and kept the flag ends and simply glued them to the back.


The frame felt like it was missing a little something so I die cut a rainbow of tiny flowers from the new Spring Sprig set and glued them around the sloth. I added some Lawn Fawn black and white twine to the back of the frame and glued my elements to the background panel.

I used some Lucy's Little Things Rainbow Gems to finish it off.


If you love Lawn Fawn go check out the challenge!
Thanks for taking the time!
Kim


Wednesday, March 7, 2018

Rainbow Background

Happy hump day crafty friends! I fell in love with the Simon Says Stamp Cosmos 6x6 Cling Background and finally had some time to play with it.


I really wanted to use my Copics on these beautiful flowers! Once I stamped it out using MFT Hybrid Kraft colored ink I decided it screamed rainbow! Before coloring, I die cut my stamped panel using my Avery Elle Wonky Stitched Rectangle die (probably my most used die). I used two shades per color family with my markers and started on the upper left flower. This was a nice relaxing project, coloring is so good for the soul!


Once I completed my coloring process, I used my B00 and colored in the white spots in the background. I wanted a simple sentiment so I used the Sending (one of my favorite older SSS wafer dies) and die cut three from Neena 80lbs card stock to add a little dimension. I decided to pair my sentiment with a Mama Elephant Occasional Labels to add the Hugs.

Thanks for taking the time!
Kim

Monday, March 5, 2018

Avery Elle Birthday for a dear friend!

Happy Monday crafty friends! I am loving all the new releases so far this year! Avery Elle is not an exception. When I picked-up this stamp set I couldn't wait to get inky.

This card is extra special because it was made for a very dear friend who has a birthday tomorrow!


I started by stamping my flowers and leaves from the new Hand Drawn Florals by Avery Elle using my Misti. I used my Copic markers with the flicking technique to offer white highlights on the flowers and leaves. Once I finished my colouring I placed my paper back in the Misti and stamped with VersaMark clear ink so that I could gold emboss my images. I then used the accompanying dies. 

I paired the Altenew Watercolor Stripes Background Die with a black card stock backer, I felt it offered a nice graphic element to the card.  I used my gold embossing powder for the sentiment from the fantastic AE Loads of Wishes set.

I put my card together and added some Pretty Pink Posh Sparkling Clear Sequins.

Thanks so much for taking the time!
Kim

Friday, March 2, 2018

Happy Hello!

Happy Friday! I am so thrilled to be sharing my first post for A Blog Named Hero! 

I think many card makers can attest to the fact that Hero Arts began their crafty journey and I am certainly on that list! Hero Arts is the first company that I discovered when I started card making in 2010 and have been an avid fan of their products since then.

The Hero Arts Flickr group also introduced me to the overall kindness of the crafting community which further solidified my love for card making. Needless to say, when I received that wonderful e-mail from Jess and Lisa I was beyond excited to join this wonderful group.


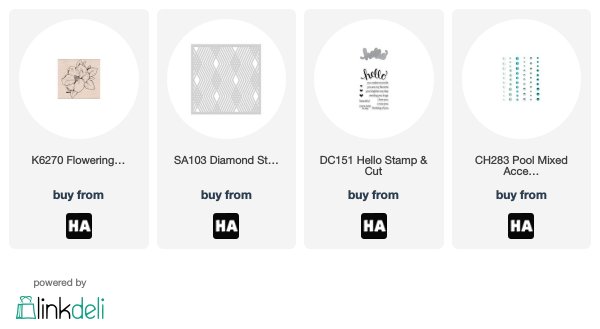
Now for my first project featuring that gorgeous new Flowering Magnolia stamp released in February. There is something so wonderful about a woodblock stamp and the stamping quality, I am so happy Hero Arts still uses wood they are among my favourites.  I watercolored my flower with a water based marker and a water brush (the fantastic new water colors by Hero Arts would be fantastic for this effect also, they are so on my wish list!) 


I then cut my watercolor paper to 5.25 x 4 inches and used the Diamond Stencil just to act as a frame for my flower with a mix of green and aqua inks. I fussy cut my flower and I popped it up with foam tape.


I die cut my Hello from the Hello Stamp and Cut from a fun foam and a black card stock sandwich and glued it over my flower and added dimension with Glossy accents. To finish off my panel I used the beautiful pool gems from the mixed accents line by Hero Arts. I added fun foam to the back of the panel and place it on my card base. Links to all the products used listed below.

Thank you so much for taking the time see you soon! 
Kim


CAS-ual Fridays Rainbows!

Happy Friday crafty friends! And it's time for the by-monthly CAS-ual Fridays Challenge! This week it's all about rainbows! This theme works for me, warmer temps, the snow is melting and it makes my heart happy like rainbows!


I picked-up some go the Taylored Expressions Inks and I decided that they were perfect for this background! I started by stamping my background using the wonderfully graphic CAS-ual Fridays Modern Petals border stamp with Catherine Pooler Midnight Ink. I decided to emboss the black with Hero Arts Sparkle Embossing Powder, you can't see it well in the picture but it leave such pretty effect. I also wanted to ensure that my black ink didn't run with the ink blending.

To blend my ink I started with Lollipop (gorgeous pink), then used Lemon Meringue and it gave me a beautiful orange when mixed with the pink, then added Cookie Monster and that gave me the green, blue green and finished with the Lollipop again which gave me the blue and the purple. It was seriously effortless and I love the effect.


I die cut my Scallop Tag from Vellum and white embossed my sentiment from Puffy Heart Love. I used clear dimensional squares (cut to size) on the back of the sentiment and popped up my tag on the panel and glued it to the card base. I used some Lawn Fawn Lawn Trimmings and Rainbow gems by Lucie's Little Things.


Join us at the CAS-ual Fridays Challenge blog for the chance to win $25 worth of CAS-ual Fridays Stamps and, drum roll please... Michelle with double the prize if you use CAS-ual Fridays stamps!


Thanks so much for taking the time!
Kim