Wednesday, January 30, 2019

Simon Says: Anything Goes featuring Impression Obsession!

Hello crafty friends! It's Wednesday and that means it's time for a new Simon Says Stamp Wednesday Challenge!


This week Simon Says: Anything Goes! The design team is featuring Impression Obsession products, it isn't a requirement to use them but if you have them we would love to see them!

Come join in on the fun, you have the chance of winning a $50 gift card to the fantastic Simon Says Stamp store!


I just had to use the super sweet Floppy Puppy Cling Stamp from Impression Obsession, I mean look at that face! I decided to color him using my Zig Clean Color Real Brush Markers on a piece of Bristol Smooth cardstock and fussy cut the image.  I decided to go with the Pantone color of the year, I rarely use this color on it's own but it has been my mission to try different styles and colors lately.


I die cut my Pink and Main frame die (their dies are pink - seriously fun!) using some Sunny Studio coral cardstock and decided to mix it with both Abandoned Coral Distress Ink and Oxide for my inside panel.

I stamped my MFT heart cling background with the Oxide for more solid stamping and I ink blended the Distress Ink on the sides of the inside panel and added some water droplets with my Distress Sprayer.


For my sentiment, I chose the beautiful Simon Says Stamp Friend Die and die cut it from both black glitter cardstock and Tim Holtz metallic cardstock in coral as well. I also embossed the Hugs sentiment from Honey Bee stamps on black cardstock.

To finish off my card I added some Studio Katia April Jewels and added some white gel pen accents on the puppy!


Follow Simon Says Stamp on Instagram

Thanks so much for taking the time! All products used are listed and linked below, affiliate links used at no extra cost to you!
Kim

Monday, January 28, 2019

Winter Anemones with Honey Bee Stamps!

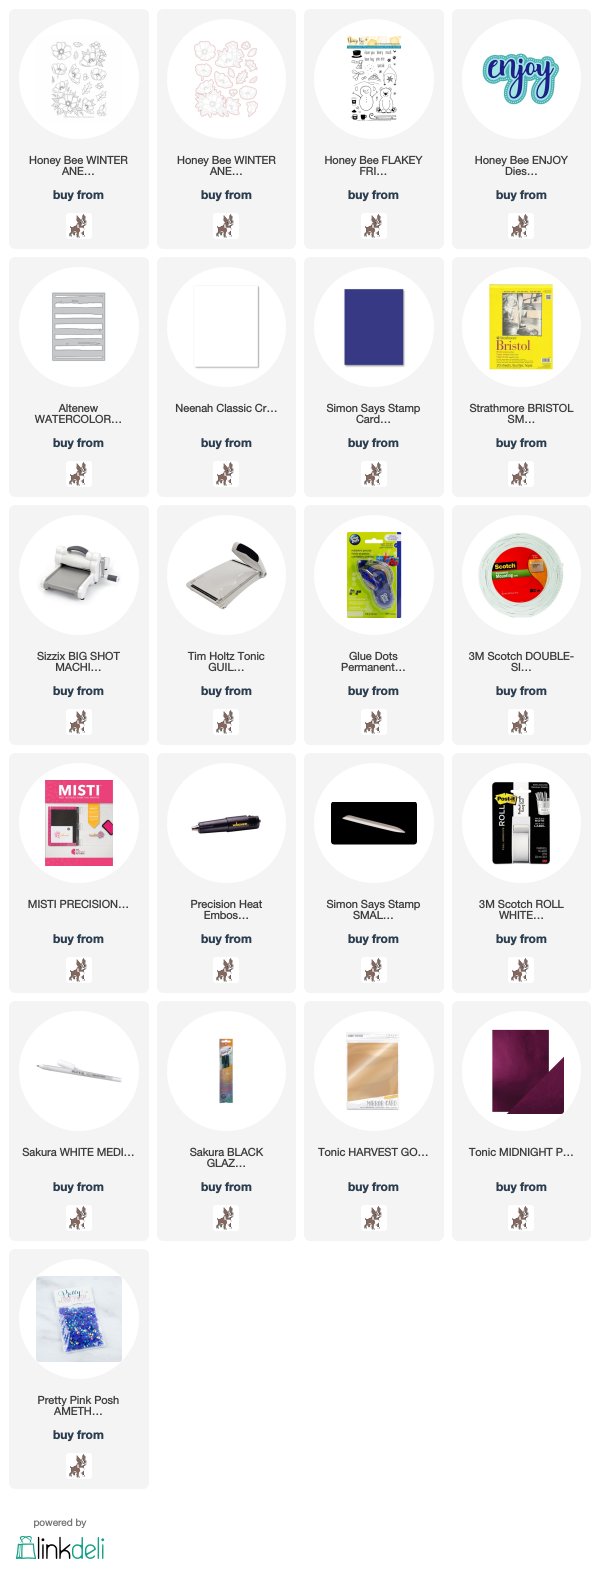
Happy Monday crafty friends! I am sharing a card featuring Honey Bee Stamps today in colors that I don't normally use! I am trying to get out of my comfort zone and try new things this year and the Anemone inspiration photo that I found on Google was perfect for this!


I just loved this flower and though the colors were perfect for the Honey Bee Winter Anemones!


I decided to use my Zig Clean Color Real Brush Markers for these, I love the ease of blending with these and since the colors were so intense they were the perfect choice.

I stamped and gold embossed my Anemones on Bristol Smooth cardstock, colored them in and used the accompanying dies.


Once I had my flowers complete I looked through my cardstock and felt the Simon Says Stamp Blue Violet was the perfect match for the background.  I used the Altenew Watercolor Stripes Cover die, I felt it complemented this beautifully so I die cut it from some Tonic Harvest Gold Mirror cardstock and used foam tape to adhere to the background panel.

I glued my flowers and leaves with a mix of glue and foam tape and cut the excess off the panel.  I chose the Honey Bee Enjoy sentiment and die cut that from the same Harverst Gold and Tonic Midnight Plum for the "liner" sentiment.


The secondary Friend sentiment is from the Honey Bee More Flakey Friends set and I used the same gold embossing power.  I finished off my card with some Pretty Pink Posh Amethyst Jewels.

Thanks so much for taking the time! All products listed and linked below, affiliate links used at no cost to you!

Thanks for taking the time!
Kim


Thursday, January 24, 2019

Just for You

Happy Thursday! Today I am sharing some inspiration for the A Blog Named Hero Crafter's Choice Challenge!

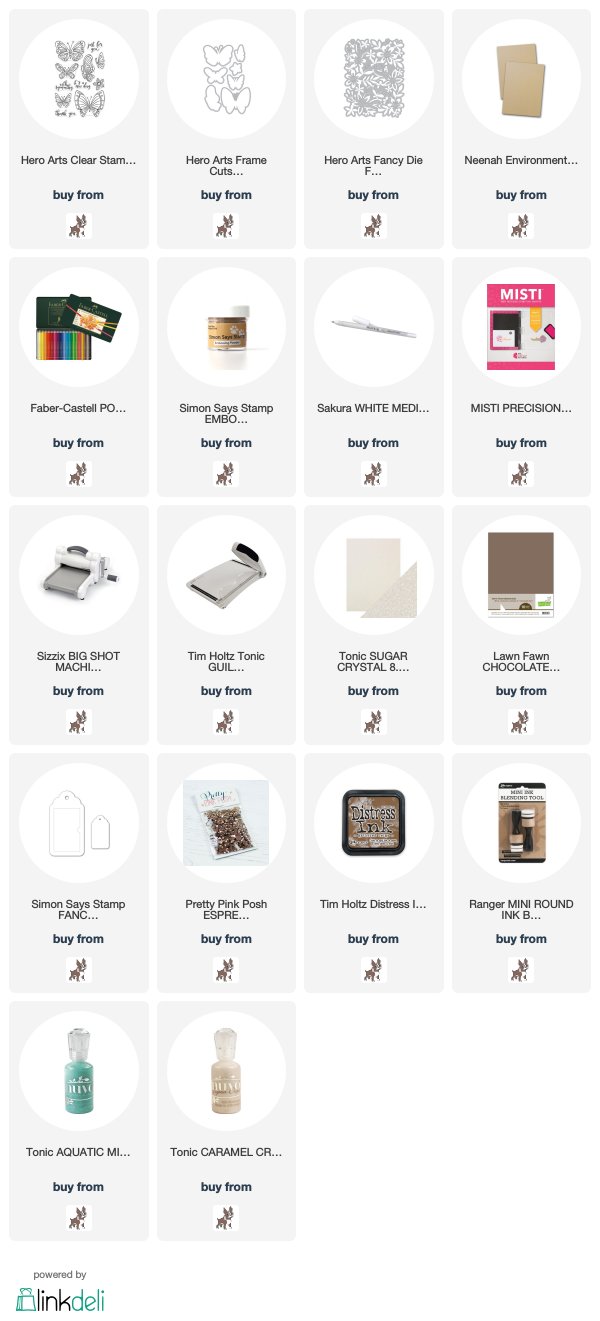
I just had to play with the new Flower Garden Fancy Die, I am in love with the detail on this die! I die cut it from white glitter cardstock and decided to pair it with some Desert Storm Cardstock to make the white glitter pop.


I paired it with the fantastic New Day Butterflies stamps and dies, I thought this was the perfect accompaniment! I decided to color the butterfly with my Polychromos pencils on Kraft, one of my favourite coloring effects. This is a different color palette for me, I usually love bright colors, this is unusually muted for me but I love the way it turned out!


The sentiment I chose is also from the New Day Butterflies and I die cut a small tag die and stamped and embossed my sentiment with gold embossing powder I then added my Butterfly and sentiment to the card using foam tape and added a little twine to the tag.


To finish off my card, I used a mix of jewels in espresso and some turquoise Tonic glitter drops.

Thanks for taking the time! All products used are linked and listed below, affiliate links used at no extra cost to you!


Wednesday, January 23, 2019

Simon Says: Have a Heart!

Good morning crafty friends! It's Wednesday and that means it's time for a new Simon Says Stamp Wednesday Challenge!


This week Simon Says: Have a Heart! The design team is featuring My Favorite Things products, it isn't a requirement to use them but if you have them we would love to see them!

Come join in on the fun, you have the chance of winning a $50 gift card to the fantastic Simon Says Stamp store!


I made two projects for this challenge, I was having so much fun with the theme! I decided to use the fun new Tweet Friends for my first card, I started by colouring my images with my Copic markers and that is what decided the color theme for this project. Once that was done, I die cut a piece of Bristol Smooth cardstock with the MFT Mod Stitched Rectangle and blended some Blueprint Sketch and Shaded Lilac Distress Ink. I then used my Distress Sprayer for added effect. Once that was dry, I stamped my MFT Scattered Hearts Background using my Misti and some Oxide inks in the same colors (I felt the Oxides would show much more with the tone on tone colors).

Once that was dry, I die cut both the panel and a piece of Glitter paper using the MFT Linked Chain Circle die (I love this die). I then paper pieced the original pieces back into the glitter die cut (using scotch tape on the back of the die).


I took the inside circle and embossed my sentiments from the Hello, Beautiful stamp set and then glued the centre on the card base and then foam mounted the panel.  I die cut my Beautiful sentiment from the same glitter cardstock and the background in white glitter cardstock. 

I then placed my images in between both sentiments. I added some white hearts as a final detail!


My next project features products release last year by MFT, I started by embossing my sentiment from the Lovable stamp set. Once that was done, I made my own stencil using the Full of Hearts Die-namics die and ink blended a mix of Festive Berries and Candied Apple Oxide Inks.


I then stamped and colored my image from the You Make my Heart Melt set with Copic markers and used the accompanying die.  I placed my image on the panel with foam tape.


I felt the background needed a punch of red so I used my Lawn Fawn Quilted Backdrop die with some Chill Pepper card stock and glued that to the card base. I placed my panel on an angle and decided to use my Corner Chomper to mimic the corners on the panel (I did this for both cards) 

To finish off, I added some hearts in white and red.


Follow Simon Says Stamp on Instagram

Thanks so much for taking the time! All products used are listed and linked below, affiliate links used at no extra cost to you!
Kim

Monday, January 21, 2019

Simon Says Stamp - Mirror hearts into a Butterfly!

Happy Monday crafty friends! Sharing a Simon Says Stamp brand exclusive card today!


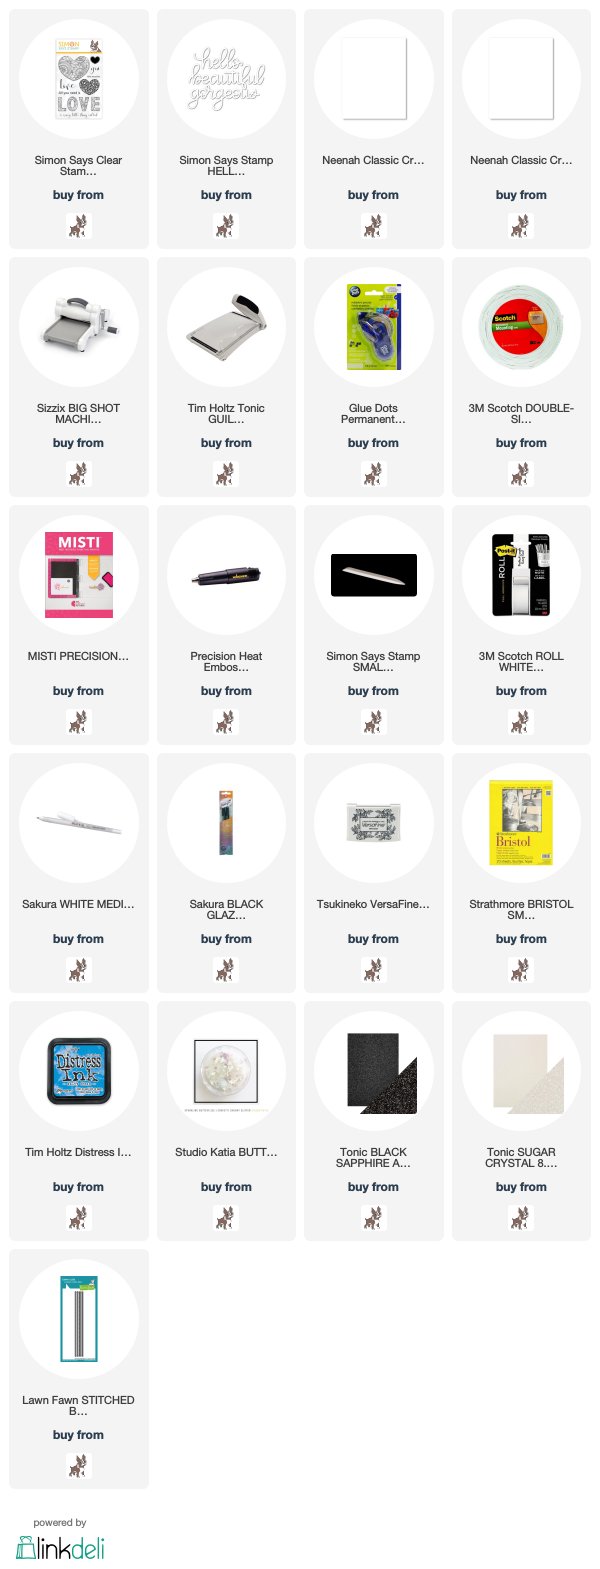
So I am in love with this detailed heart from the Ornate Love set that was in the last Simon Says Stamp "You Are Loved" release.  I originally wanted to do a mirror heart card, but when my husband saw it he said "what a beautiful butterfly" lol so that's what it became :)


I started by finding the centre of my Bristol Smooth paper panel and placing my stamp aligned to the centre of the cardstock in my Misti and stamped the heart. I flipped the panel and stamped it a second time using Versafine Onyx Black in so that I could use my Zig Clean Color Real Brush markers.

Once that was done, I die cut a large butterfly with a die from my stash using Tonic black glitter paper and cut the centre of the butterfly and glued it to the panel.  I chose the fantastic Hello Beautiful Gorgeous dies from Simon Says Stamp and die cut it from both White and Black glitter specialty cardstock both by Tonic and glued it to the panel a little offset so the black would frame the white.


I then used one of the Lawn Fawn Stitched Border dies above and below the panel and trimmed it. I added some Sunny Studio paper in the background and finished off with some Studio Katia Chunky Butterfly Glitter and Sequins.

Thanks so much for taking the time, all products used are listed and linked below - affiliate links used at no extra cost to you!
Kim

Friday, January 18, 2019

Lawn Fawnatics - Happy Little Critters!

Happy Friday crafty friends! I haven't participated in a challenge in a while, so I decided I absolutely needed to play along with the Happy Little Critters Lawn Fawnatics Challenge! I mean, who doesn't love a Critter challenge!


I had such fun making this winter birthday scene! I chose the Sweet Critter Concert set because I love it and I have not had the chance to ink it up yet, eek! I stamped all of the Critter images and accessories on a piece of Neena 80lbs cardstock and colored them in with a series of Copic Sketch markers.  I used the accompanying dies and set them aside to work on my background.


I took a piece of Bristol Smooth cardstock cut to A2 size and Ink blended Mustard Seed, Picked Raspberry and Wilted Violet Distress Ink on the panel once that was complete I took my favourite Simon Says Stamp Star background stencil and I wanted gold embossing paste by alas, mine had dried out. So I took my clear glitter embossing paste and added some Distress Paint to it to make my own, I am super happy with the result. 

I put that aside to dry and die cut my Birch Trees from the Lawn Fawn White Woodgrain cardstock and added some Hickory Smoke Distress Ink to give shading and dimension. I also die cut a piece of the Lawn Fawn glitter paper with the largest Stitched Rectangle Die (as was the background panel) and die cut either side with the opposing Stitched Hillside Border dies.


Once my background had dried I embossed my sentiment on the background panel and glued my trees. I added my "snow banks" and finally placed my critters on the panel. To finish off, I added my music notes to the scene! Go check out the fun challenge!

Thanks for taking the time! All products are listed and liked below, affiliate links used at no extra cost to you!
Kim


Wednesday, January 16, 2019

Simon Says: Clean and Simple!

Good morning crafty friends! It's Wednesday and that means it's time for a new Simon Says Stamp Wednesday Challenge!


This week Simon Says: Clean and Simple! The design team is featuring Hero Arts products, it isn't a requirement to use them but if you have them we would love to see them!
Come join in on the fun, you have the chance of winning a $50 gift card to the fantastic Simon Says Stamp store!


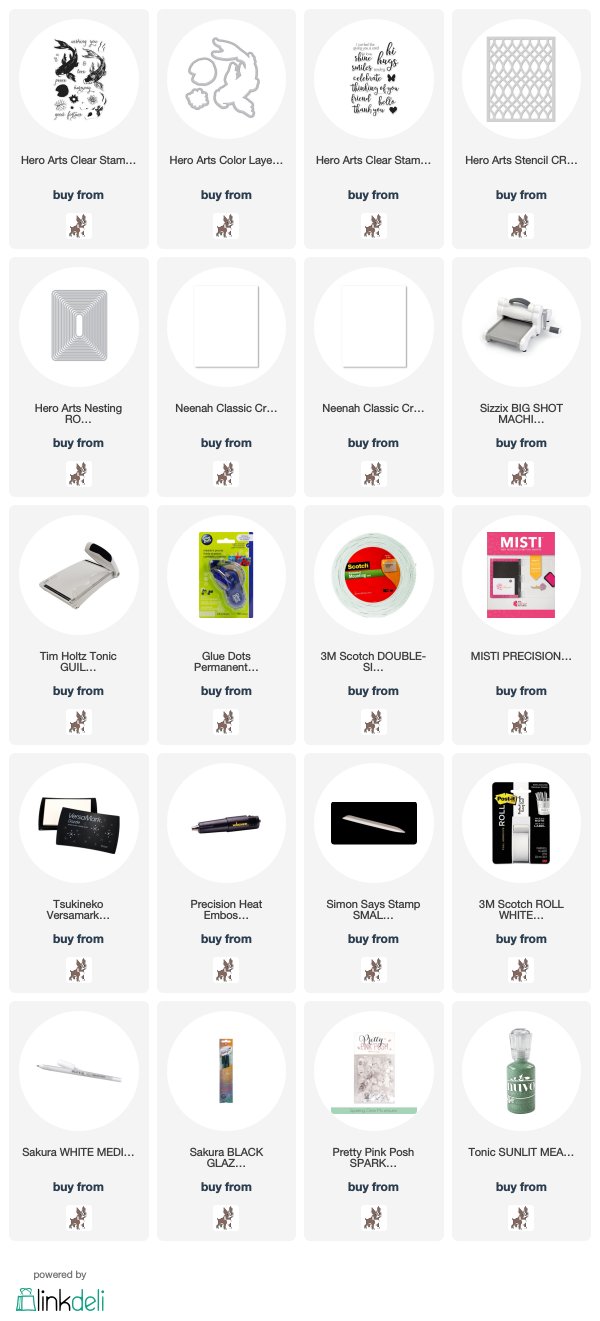
I love making Clean and Simple cards! I have been re-visiting the Hero Arts Layering Stamps lately, when I first purchased them I seemed to have a hard time layering them properly. But as they say practice makes perfect and a stamp positioner is always a winning product to own!


I used my Layering Koi for this project and chose to go with a bottle green color and some navy. It's always good to have cards ready that could go for masculine or feminine recipients! 

I started by stamping my Koi fish and used the accompanying die, I die cut my Neena 80lbs panel with one of the Rounded Rectangle dies. I used the Crossing Waves Stencil and ink blended on a portion of the panel.


I used the Hand Drawn Messages and stamped my sentiments. I foam mounted my Koi fish and added a sprinkling of Sparkling Clear Sequins by Pretty Pink Posh and some Nuvo Glitter drops to the centres!


Follow Simon Says Stamp on Instagram

Tuesday, January 15, 2019

Hugs Gorgeous!

Happy Tuesday crafty friends! It's the 15th and that means it's time for a new A Blog Named Hero Challenge! This months it's Crafter's Choice or Anything Goes, yay! 
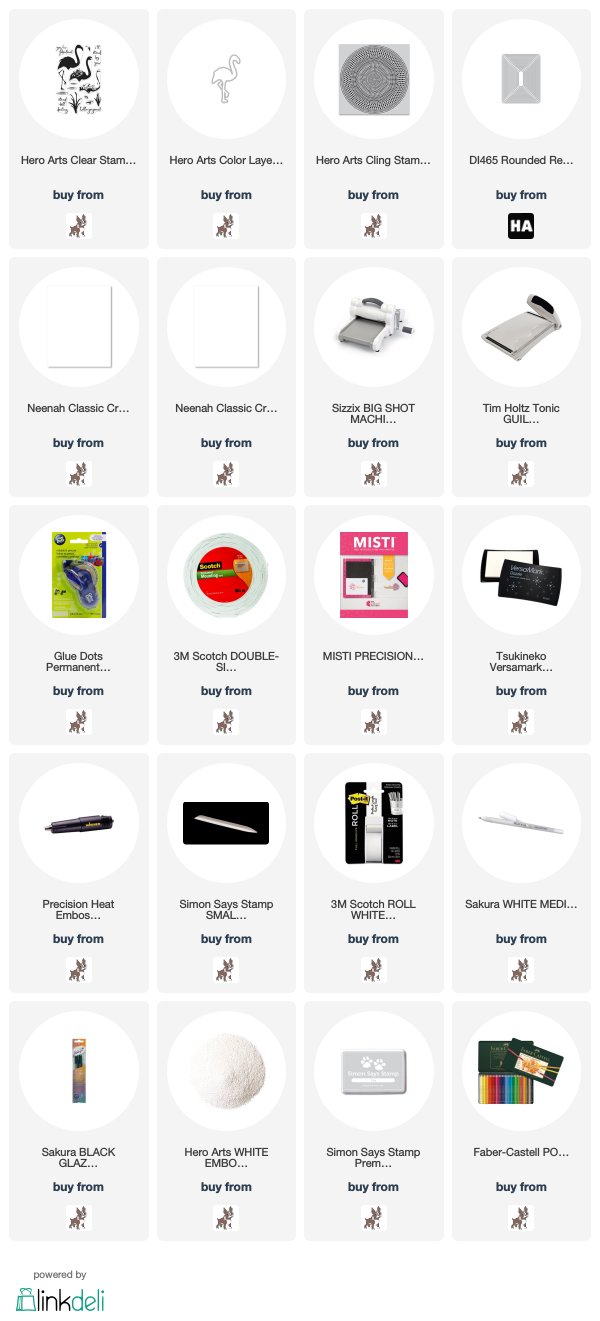
I chose the beautiful Hero Arts Layering Flamingo as my feature stamp on this card, I just love the lines of this flamingo :)  I started by stamping the body of the flamingo on Neena 80lbs cardstock and die cut it before stamping the legs. I find it offers a more exact placement for the legs.


Once that was complete, I chose the Bold Sunburst large cling stamp for my background and turned it upside down to get the best possible stamping. I inked it up with some Fog ink and stamped my panel upside down and put pressure over it with typing paper.


I die cut the panel with the Hero Arts Rounded rectangle dies and placed my flamingo on top to stamp the puddle and leaves. I added some colored pencils on the leaves and puddle for added dimension and then glued my flamingo.


I die cut my hugs sentiment from a deep pink mirror cardstock and embossed the gorgeous sentiment also from the layering flamingo set in white on black cardstock and added a few candy hearts to the panel!

Thanks so much for taking the time! All products are listed and linked below, affiliate links used at no extra cost to you!

Kim