Pages

Friday, August 30, 2019

Dad's Birthday!

Happy Friday crafty friends! Sharing a fun masculine card that was my Dad's birthday card featuring Honey Bee products!


I mean, this flame stencil is amazing! I started by blending Mustard Seed, Candied Apple and a little Black Soot Distress Oxide Ink on the top portion of my panel. Once that was complete, I left the panel to dry a little.


I stamped my car and colored it with my R family of Copic markers and used the accompanying die.  I took the base panel and die cut it using my Mama Elephant Cloud Nine die and then decided to spray the Oxide blend with water for more texture.

I decided to stamp a Lawn Fawn "76" on the side of the car and then used foam tape to adhere the car to the panel.


I die cut the "Bonne FĂȘte" from my stash and glued it to the panel. I then added some Glossy Accents, White Gel pen detail and some Pretty Pink Posh gold sequins!

Thanks so much for taking the time! Products used are listed and linked below, affiliate links used at no extra cost to you!
Kim


Wednesday, August 28, 2019

Simon Says: Anything Goes with Tim Holtz

Hello crafty friends! It's Wednesday and that means it's time for a new Simon Says Stamp Wednesday Challenge!


This week Simon Says: Anything Goes! The design team is featuring - wait for it...Tim Holtz products, woot!  It isn't a requirement to use them but if you have them we would love to see them!


Come join in on the fun, you have the chance of winning a $50 gift card to the fantastic Simon Says Stamp store!


I picked-up a few Tim Holtz stencils a few months back and I just love them. For those of you that follow me, you know that there is nothing I love more to stage a floral grouping than a selected stencilled background.

I started by colouring these sweet Honey Bee Cosmos flowers with my RV Copic family based on an inspiration picture I found via Google search.


I just loved the definition of the petals and the colors made me feel a little more after summer.


Once those were colored and die cut, I placed them on my panel to see how much of the stencil I wanted to incorporate. I pulled out my Spiced Marmalade Distress Ink and blended just a portion of the Gradient Dot stencil by Tim Holtz.  I felt the colors were more fall inspired and I really like the contrast with the fuchsia. 

Before adhering my flowers, I used a rounded rectangle die for the panel. I then glued my flowers to the panel and used foam tape to glue it to the card base.


I die cut the Celebrate die also by Honey Bee and added some Pretty Pink Posh sequins in a similar fuchsia color.  To add more dimension to the flower centres, I added some Nuvo Dream Drops in the gold color. I am super happy with the way this turned out!


Follow Simon Says Stamp on Instagram


Thanks for taking the time, products used are listed and linked below! Affiliate links used at no extra cost to you :)
Kim


Monday, August 26, 2019

Baby Shower :)

Happy Monday! Things are slowly getting back to normal after the summer break as will my post schedule! Today I am sharing a card that was made for a family member for her shower over the summer! Yes, they are expecting their first and it's a baby boy!


I have been trying to find the puppy stamp I used for this and I think it is discontinued. So my apologies, but it has been in my stash for a while and I thought he was perfect for this card! I colored him in with my Copics and fussy cut him out, his bow was the decider for the color choice :)


Once that was complete, I took the largest Honeybee polka dot stencil and ink blended some Peacock Feathers Distress Ink on my panel and die cut that from a Rounded Rectangle die.

I stamped some Lawn Fawn sentiments on black licorice cardstock and white embossed both. I then die cut my letters from some Tonic Silky Sky paper. I felt the puppy needed an anchor, so I die cut a Lawn Fawn Stitched heart from Velum and put all of my elements together.


To finish off I added some white gel pen and a scattering of Studio Katia candy hearts in blue and green!

Thanks for taking the time! Products used are listed and linked below, affiliate links used at no extra cost to you!
Kim


Thursday, August 22, 2019

I miss your face!

Happy Thursday crafty friends! I have been away on vacation for the last month and have not posted as much as I would have liked! I am trying to catch-up on projects I made over the summer! 


I am firm believer in positive thoughts, and factually summer ends only on September 22! A whole month left, I am seeing so many posts about it being over...Well it sure isn't to me! We swim in our pool until October, lol!  So I really wanted to play with this super fun Simon Says Stamp Brand exclusive  Chillin Frenchies! I am a major dog lover so this stamp set was meant to be in my stash!


I stamped and colored  my Frenchie with Copics created a mask. I then did my ink blending using some MFT stencils on the clouds and the sand.  For the ocean I simply used a piece of my PostIt tape to create a straight line at the bottom of the clouds.

I used Shaded Lilac for the clouds, Salty Ocean for the water and a mix of Antique Linen and Gathered Twigs for the sand


I stamped my sentiment and added some white gel pen detail to the sand and water as well as on my Frenchie and his accessories.

One that was complete I finished with glossy accents and some Sparkling Clear sequins!

Thanks so much for taking the time! Products used are listed and linked below, affiliate links used at no extra cost to you!
Kim


Wednesday, August 21, 2019

Simon Says: Clean and Simple

Hello crafty friends! It's Wednesday and that means it's time for a new Simon Says Stamp Wednesday Challenge!


This week Simon Says: Clean and Simple The design team is featuring CAS-ual Friday's products!  It isn't a requirement to use them but if you have them we would love to see them!


Come join in on the fun, you have the chance of winning a $50 gift card to the fantastic Simon Says Stamp store!


I used the sweet Somebunny Stamp set for my card today, I started by die cutting a stencil from my Tin Roof Cover Fri-die and ink blended a mix of Cracked Pistachio and Peacock Feathers Distress ink to the right side of my panel and then die cut it using my Mama Elephant Cloud Nine main die.

I die cut my paper for my bunny image as it is a full die and then lined up my die cut and stamped the image.


I used my Copic markers for the bunny I then die cut my friend die from Tonic Silver specialty paper and stamped my What's up sentiment on Black Licorice cardstock.


To Finish off, I added one red candy heart and some Pretty Pink Posh Sparkling Clear Sequins!


Follow Simon Says Stamp on Instagram


Thanks for taking the time, products used are listed and linked below! Affiliate links used at no extra cost to you :)
Kim

Wednesday, August 14, 2019

Simon Says: Midsummer Blues

Hello crafty friends! It's Wednesday and that means it's time for a new Simon Says Stamp Wednesday Challenge!


This week Simon Says: Midsummer Blues! The design team is featuring always amazing Avery Elle products this week!  It isn't a requirement to use them but if you have them we would love to see them!


Come join in on the fun, you have the chance of winning a $50 gift card to the fantastic Simon Says Stamp store!


And is this week's theme appropriate for me! I go back to work Monday after a fantastic four-week summer break. I sincerely have the blues! lol

I decided to use my favorite Avery Elle stamp set - Butterflies :)  I took a piece of Lawn Fawn Mermaid paper and stamped my butterflies and sentiments in a mix of inks by Simon Says Stamp and Lawn Fawn along with my Simon Says Stamp Gold Embossing powder.


Once I finished with my Butterflies and sentiments, I added some hearts from the Avery Elle Loads of Wishes stamp set and gold embossed them.  I then die cut my panel using the Avery Elle Wonky Stitched Rectangle die.


To finish off, I added some gold gel pen detail and a mic of Nuvo drops on the butterflies and the panel. Go check out the challenge, such fun and you could win a $50.00 gift card to the Simon Says Stamp Store!


Follow Simon Says Stamp on Instagram


Thanks for taking the time, products used are listed and linked below! Affiliate links used at no extra cost to you :)
Kim


Wednesday, August 7, 2019

Simon Says: Add a Die Cut

Hello crafty friends! It's Wednesday and that means it's time for a new Simon Says Stamp Wednesday Challenge!


This week Simon Says: Add a Die Cut! The design team is featuring Memory Box products this week!  It isn't a requirement to use them but if you have them we would love to see them!
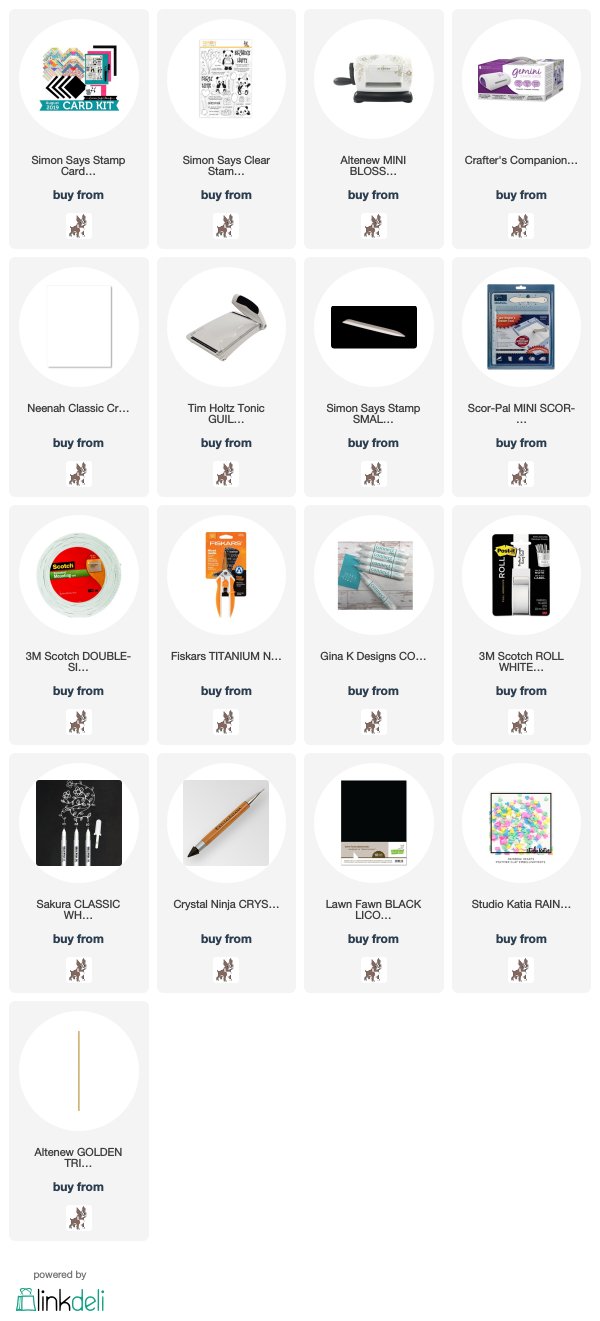

Come join in on the fun, you have the chance of winning a $50 gift card to the fantastic Simon Says Stamp store!


I used the fun Scribble Roses Outline dies for my card this week, I was feeling a rainbow! I die cut my roses and kept the insert pieces by simply adding scotch tape to the back and I ink blended some Distress Oxide inks on all of my flowers.


I then chose this super fun Altenew die cut for my background die and glued that to my card base.  I used a mix of foam tape and glue to place my flowers on the panel.

I die cut my Simon Says Stamp Celebrate die from Tonic silver paper with a fun foam sandwich for dimension.


To finish off, I added some Lucy's Little Things rainbow Jewels.  Everything on this card is die cutting making it a super fast and fun project!


Follow Simon Says Stamp on Instagram


Thanks for taking the time, products used are listed and linked below! Affiliate links used at no extra cost to you :)


Friday, August 2, 2019

Party like a Panda!

Happy Friday! I received my August Simon Says Stamp Card Kit this week! This kit is the sweetest ever, this is the first of many projects to come with this adorable kit and it's elements!


I decided to stamp the amazing bears from the 6x8 stamp set included in the kit, I absolutely wanted to use as many bears as possible so I decided to do lots of masking to fit them all on my panel. I stamped the gifts and the extra party hat on the panda that is laying down masked them and continued  stamping and masking the rest including the Happy balloons! I colored everything in rainbow order :) with my Copic markers.


I trimmed down my panel so that I could use some of the yummy pattern paper from the kit on the sides of the card base. I also trimmed the rainbow paper to place on the top an bottom of the panel and I added some Altenew gold washi tape.


To finish off, I added a secondary sentiment from the same stamp set and some candy hearts, white gel pen, Nuvo glitter drops and glossy accents!

Thanks for taking the time, products used are listed and linked below. Affiliate links used at no extra cost to you.

Have a great weekend, Kim!