Friday, November 29, 2019

My Favorite Things - Joy!

Happy Friday crafty friends! Sharing a quick classic Christmas card today featuring My Favorite Things products!


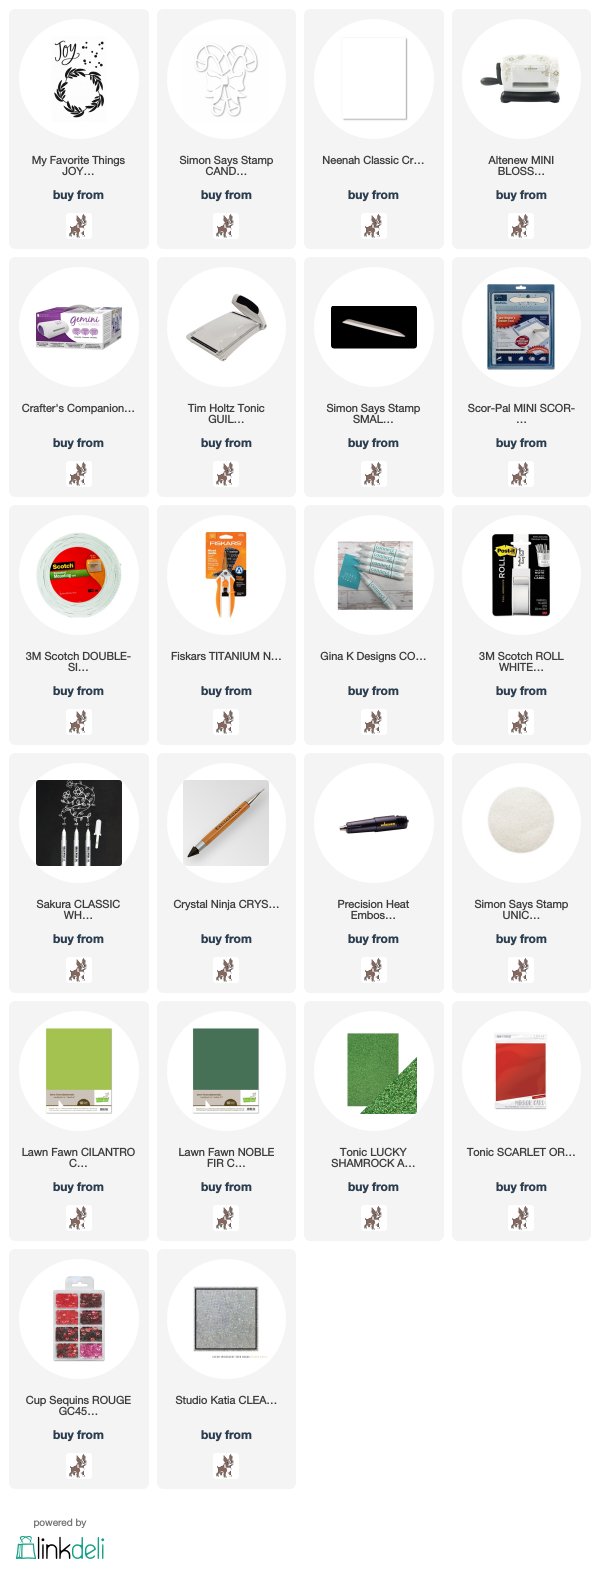
This was such an easy card to put together and I do love a CAS card! I die cut my pieces from a mix of cardstocks (listed below) I embossed my panel and glued my wreath.


I added the Joy die and the bow from a Simon Says Stamp die set also listed below.  I placed my sequin "Berries" and added seed beads to the centres.


I had some red washi tape in my stash that I placed on either side of the card base and glued my panel using foam tape for dimension. To finish off, I added a few Pretty Pink Posh Sparkling Clear sequins!

Thanks for taking the time! Products used are listed and linked below, affiliate links used at no extra cost to you!
Kim

Wednesday, November 27, 2019

Simon Says: Anything Goes featuring Penny Black Products!

Hello crafty friends! It's Wednesday and that means it's time for a new Simon Says Stamp Wednesday Challenge!


This week Simon Says: Anything Goes! The design team is featuring sweet Penny Black products! It isn't a requirement to use them but if you have them we would love to see them!


Come join in on the fun, you have the chance of winning a $50 gift card to the fantastic Simon Says Stamp store!


I can't even with the cuteness of this bunny! We currently have one camped out in our back yard (which I just love) so, I decided on this image and colored her in to look like our new "roommate" or  land mate, lol!

I started by stamping my bunny colouring her with my Copic Markers and made sure to make her look like a fuzzy bunny :) I then outlined my snow hill with my grey Copics


I stamped various snowflakes in a mix of Festive Berries Oxide ink and embossing ink. I added both White and Gold embossing powder and heat set everything.  I then ink blended the Festive Berries Oxide Ink starting on either side and coming in lighter in the middle (I did not need a mask for this as I don't actually touch the image. I wiped the excess off the embossed areas and used my Distress Sprayer with water for added texture. Once it was dry, I die cut it using my Avery Elle Wonky Stitched Rectangle die.


I die cut my sentiment from Tonic Harvest Gold Specialty Paper and glued it to the card panel. To finish off, I added some White, Red and Gold Glitter Nuvo Drops and some white gel pen detail.


Follow Simon Says Stamp on Instagram


Thanks for taking the time, products used are listed and linked below! Affiliate links used at no extra cost to you :)
Kim


Monday, November 25, 2019

Candy Cane Lane with MFT!

Happy Monday! I am calling this card Candy Cane Lane, I had such fun making this one. I used probably my favorite MFT Christmas stamp set for this one (released last year). I just love the Penguins :)


I started with my background panel I white embossed my MFT sentiment and I then placed my MFT Drifts and Hills Stencil and I ink blended some Distress Oxides (all listed below).  Once that was done to my liking, I added my white embossing paste using my Simon Says Stamp Falling Snow Stencil (this is by far my most used stencil) and put that aside to dry.


I stamped my images and coloured them in with my Copic markers, I die cut my penguin and I fussy cut my sign.  I felt the panel needed a little something so I added some water using my Distress Sprayer and wiped off the excess.

I wanted a little more color, so I trimmed either side of my panel and cut some of the Brutus Monroe paper and placed my stripes on either side of my card base. I was super happy with the way this turned out. I love the added "Candy Cane" look.


I added some Glossy accents to my images, once they were dry I added them to the panel with foam tape.  I used Simon Says stamp Unicorn Dust on my penguins hat and used a pompom. I finished off with some grey marker around parts of the greeting to make is stand out a little more and some white gel pen details to the images.

I added Lawn Fawn Chunky Glitter to the "snow" and some Blue Nuvo Glitter drops.

Thanks so much for taking the time! Products used are listed and linked below. Affiliate links used at no extra cost to you!

Kim

Friday, November 22, 2019

Rudolph inspired CZ Design Gift Tags!

Happy Friday! My holiday crafting is well underway! I had to move out of my craft room temporarily ... We have changed all of our wood flooring and my husband saved mine for last... Well, we are there and it has to be done by Christmas therefore, I was temporarily evicted to the dining room, eek! Although it's cozy, lol!


I couldn't wait to use this Simon Says Stamp CZ Design die cut from the November card kit! I LOVE this die and I LOVE this kit, I shared a card last week using the fabulous pattern papers from the kit.

I thought he was perfect for Christmas gift tags! 

I started by die cutting my reindeer from Neena Desert Storm with the die from the kit and a circle die from my stash so it would fit my tag. I added some light Copic colouring to add some dimension to all three reindeer.

I went on to die cut all of my elements, the tag is by Mama Elephant which, I die cut from Woodgrain cardstock. The wreath dies are by Lawn Fawn and I die cut many leaves from Noble Fir and Cilantro Lawn Fawn Cardstock. I added some Mowed Lawn Distress Ink to the Cilantro for depth.

I glued all of my leaves to the circle of the reindeer and added some red jewels to act as berries. I then glue the "Wreath to my tag and added the red PomPom from the kit to his nose and some black jewels to his eyes.


I die cut my bow by Simon Says Stamp from Gold Tonic Specialty Paper and  the My Favorite Things Joy die from Tonic Red Specialty paper and added them bot to each of the tags.

To finish off, I added the tag reinforcer on the same red as the Joy. I decided I wanted a separate tag for the To and From so I die cut a Lawn Fawn tag and added it with the ribbons to each tag!

Thanks so much for taking the time! Products used are listed and linked below, affiliate links used at no extra cost to you!

Kim

Wednesday, November 20, 2019

Simon Says: Starry Night!

Hello crafty friends! It's Wednesday and that means it's time for a new Simon Says Stamp Wednesday Challenge!


This week Simon Says: Starry, Starry Night! The design team is featuring Stampendous products! It isn't a requirement to use them but if you have them we would love to see them!


Come join in on the fun, you have the chance of winning a $50 gift card to the fantastic Simon Says Stamp store!


I simply could not resist this Giving Snowmen set by Stampendous! I love the vintage feel of this set! I started by stamping my images first and embossed my sentiment before creating masks for the images above my snow line. And I created a snow line from masking paper using a Stitched Border die.

I masked them off and used my Distress Oxides for the night sky (colors listed below).  I went over it using some Tonic Glitter paste and my Simon Says Stamp Falling Stars Stencil.


I removed my masks and colored my images in with my Copic markers. I also added some white gel pen detail to my images.

I then took my precious Simon Says Stamp Unicorn Dust (LOVE this stuff) and added it to the branches, snow hills and my snowman.


To finish off, I added some iridescent stars to my night sky!


Follow Simon Says Stamp on Instagram


Thanks for taking the time, products used are listed and linked below! Affiliate links used at no extra cost to you :)
Kim

Monday, November 18, 2019

Tis the Season with Honey Bee!

Happy Monday! Today I am sharing a fun Christmas card featuring fabulous Honey Bee Stamps products!


I have always loved playing with pink for a holiday card! I just love the Honey Bee Snow Buddies stamp set that was released last year, this set has so many fun images and all the accessories you could ask for so I went with this set for my card!

I started by masking my snow hill and ink blending Spun Sugar, Worn Lipstick, Picked Raspberry and a touch of Festive Berries (on the top portion of the panel) using Oxide Inks.


I then used my Simon Says Stamp Falling Snow Stencil and added some Tonic Pink Opal Glitter Paste and set the panel aside to dry.

I stamped out all of my images and coloured them in with my Copic markers and used the accompanying die cuts.  I added some Simon Says Stamp Unicorn Dust on the Santa's hat and some white gel pen detail to some of the images.

I chose this fun Creative Expressions Tis the Season die cut for the greeting, the size and sentiment itself were perfect for my project.  I die cut it from a Fun Foam, Stick It and Tonic Red Specialty paper for added dimension.


I added all of the images using a mix of glue and foam tape then added the sentiment. I used my Neutral Grey Copics to add shadow tot he bottom of my images and finally some Tonic Nuvo Drops in White Blizzard and Gold Glitter to some of the images and some White Candy Hearts!

Thanks so much for taking the time! Products used are listed and linked below, affiliate links used at no extra cost to you!


Wednesday, November 13, 2019

Simon Says: Thank You/Thanksgiving!

Hello crafty friends! It's Wednesday and that means it's time for a new Simon Says Stamp Wednesday Challenge!


This week Simon Says: Thank You/Thanksgiving! The design team is featuring Hero Arts products! It isn't a requirement to use them but if you have them we would love to see them!


Come join in on the fun, you have the chance of winning a $50 gift card to the fantastic Simon Says Stamp store!


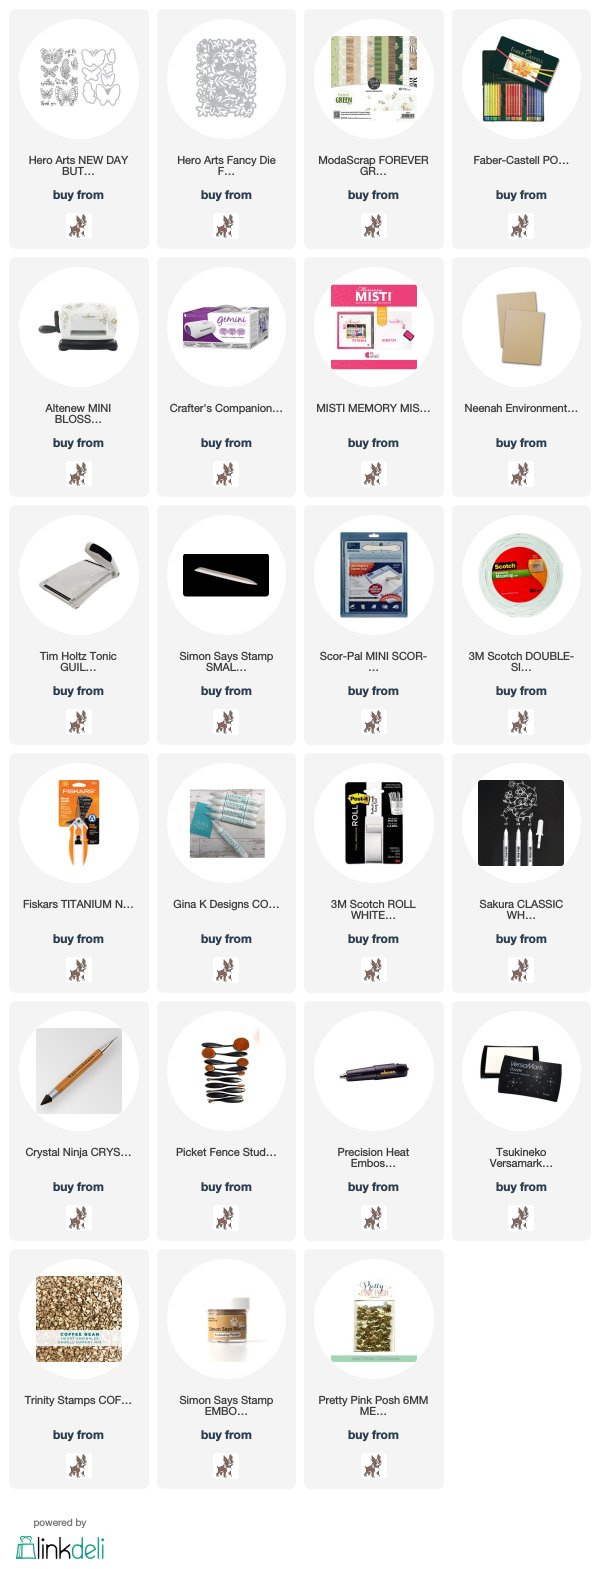
The inspiration for this card began with the papers by Moda Scrap that were included in the gorgeous Simon Says Stamp November Card Kit! Green is my favourite color and I really felt these papers to be so fall inspired (FYI - I made this card before the massive snowfall, lol).

I chose one of the Woodgrain papers for the background and pulled out my Hero Arts Floral Garden background die and paired it with another fun paper from the pack.


I decided that a butterfly on Kraft paper would compliment the background papers so I stamped it and colored it in with my Polychromos pencils.  I re-stamped it with Versamark and added Simon Says Stamp Antique Gold embossing powder.

I stamped the Thank You sentiment, also from the New Day Butterfly Stamp Set by Hero Arts on one of the green pattern papers. I attached the butterfly to the sentiment strip. 


I added foam tape to the floral die cut and adhered it to the woodgrain panel and then to the card base.  I glued the butterfly and sentiment to the card and added some sequins, drops and pearls in matching colors.

To finish off, I added some twine to the top, some Coffee Bean Hearts and some Tonic Gold Pearl drops.


Follow Simon Says Stamp on Instagram


Thanks for taking the time, products used are listed and linked below! Affiliate links used at no extra cost to you :)
Kim


25 Days of Christmas Tags 2019 - Simon Says Stamp!

Tracey McNeeley aka In My Creative Opinion has once again invited Simon to take part in the fantastic 25 Days of Christmas Tags! One of my favourites of the Season!

This is the 9th year that Tracey has hosted this event and Simon Says Stamp is thrilled to be joining in with Day 11!


Each day up to November 28th there will be a different company sponsoring with fabulous crafty give aways and prizes to be won PLUS the company design teams will be joining in with lots of gorgeous Christmas Tags for our inspiration!


By joining in with the event YOU could win a $50 Gift Voucher to Simon Says Stamp! How awesome is that! ;-) 


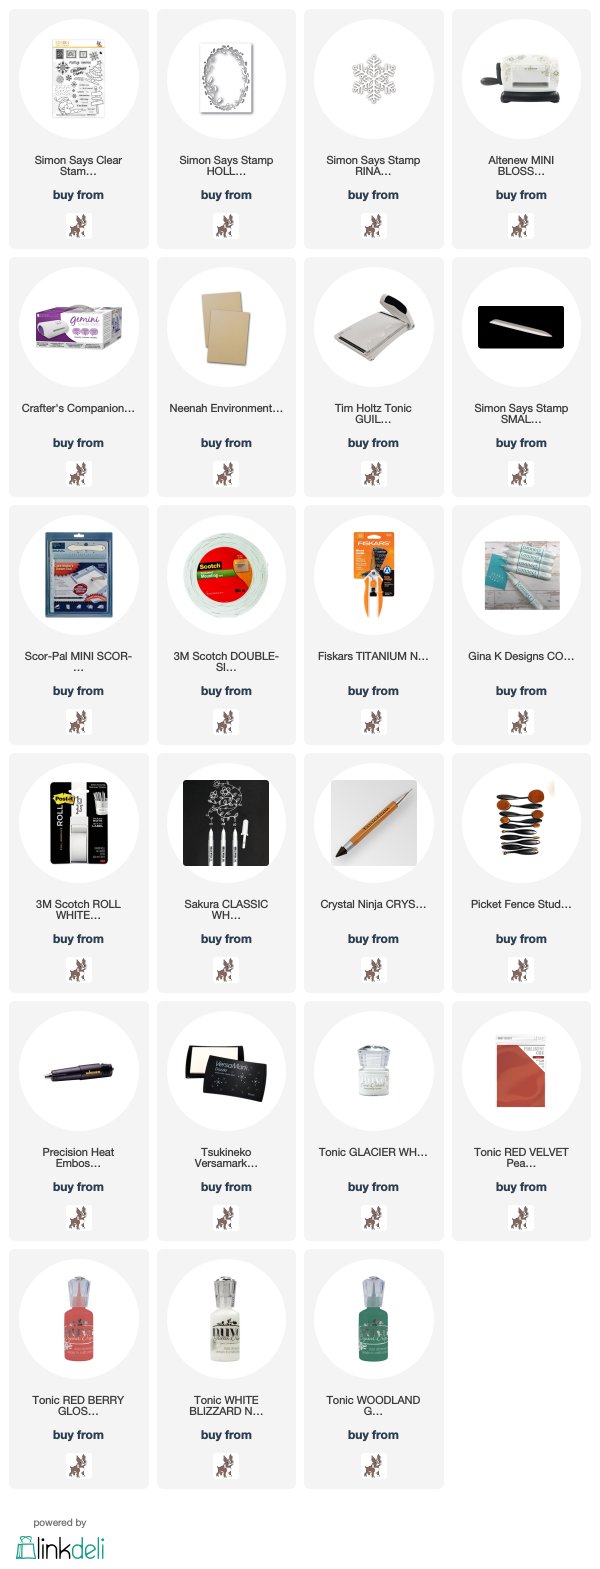
I started by stamping and masking my Santa from the Simon Says Stamp 6x8  Christmas stamp set that was release last year. I love the traditional feel of the elements in the set but drawn with a modern twist.

I masked my Santa to be able to stamp my North Pole sign in the background and coloured all of my elements with my Copic markers including the blue sky.

 I then used the Simon Says Stamp Holly Oval frame to die cut my woodgrain tag and glued the two pieces together and added white gel pen detain to the Santa, sign and the snow in the background.


I then added Nuvo drops in a mix of Christmas colors to the holly and leaves as well as on the Santa's hat and the white on the sign pole.

I white embossed my Merry Christmas and fussy cut it to match the outline and added it to a Rina Snowflake.

I finished it off by adding some ribbon and twine and some snowflakes from my stash on top of the tag!


If you haven't yet been to Tracey's blog, I sincerely encourage you to go check out the rest of the tags at  In My Creative Opinion .

Thanks so much for taking the time! Products used are listed and linked below, affiliate link used at no extra cost to you!

Kim

Tuesday, November 12, 2019

Deck the Howls with My Favorite Things!

Happy Tuesday! Work has been so busy lately, that I gave myself a treat and took a long-weekend! That means I had time to myself in my craft room with the dogs, of course!


I bought these MFT products last year and never had a chance to create with them.  I was in the mood to make a pastel colored card and what better than the MFT background rainbow paper.

I started by die cutting my Ho, Ho, Ho sentiment from Woodgrain cardstock and then from some Lawn Fawn Mermaid cardstock. I inlayed my Ho, Ho, Ho with scotch tape and then  used foam tape to add my top panel to the rainbow stripe panel.


I decided to add some Simon Says Stamp Unicorn Dust to the Mermaid Ho, Ho, Ho for added texture and set it aside to dry.

I chose this cutie dog from the MFT Deck the Howls stamp set and stamped him on Neena cardstock. I also stamped another dog from the same set with a Santa's hat.  I colored the dog in and the hat from the other stamp and die cut everything.  I then simply fussy cut the bottom of the dog hat to fit my image.


I stamped the secondary sentiment on matching pink cardstock and used an MFT banner die to cut it out.  I placed my elements on the panel and mounted it to a card base.  I added some White Blizzard Nuvo Drops, some White gell pen detail and some Glossy Accents. To finish off, I added some Sparkling Clear Sequins.

Thanks so much for taking the time! Products used are listed and linked below, affiliate link used at no extra cost to you!

Kim