Friday, January 31, 2020

You Da Best!

Happy Friday! Still playing my my Simon Says Stamp January Card Kit! The kit is sold out but the components can still be purchased separately!


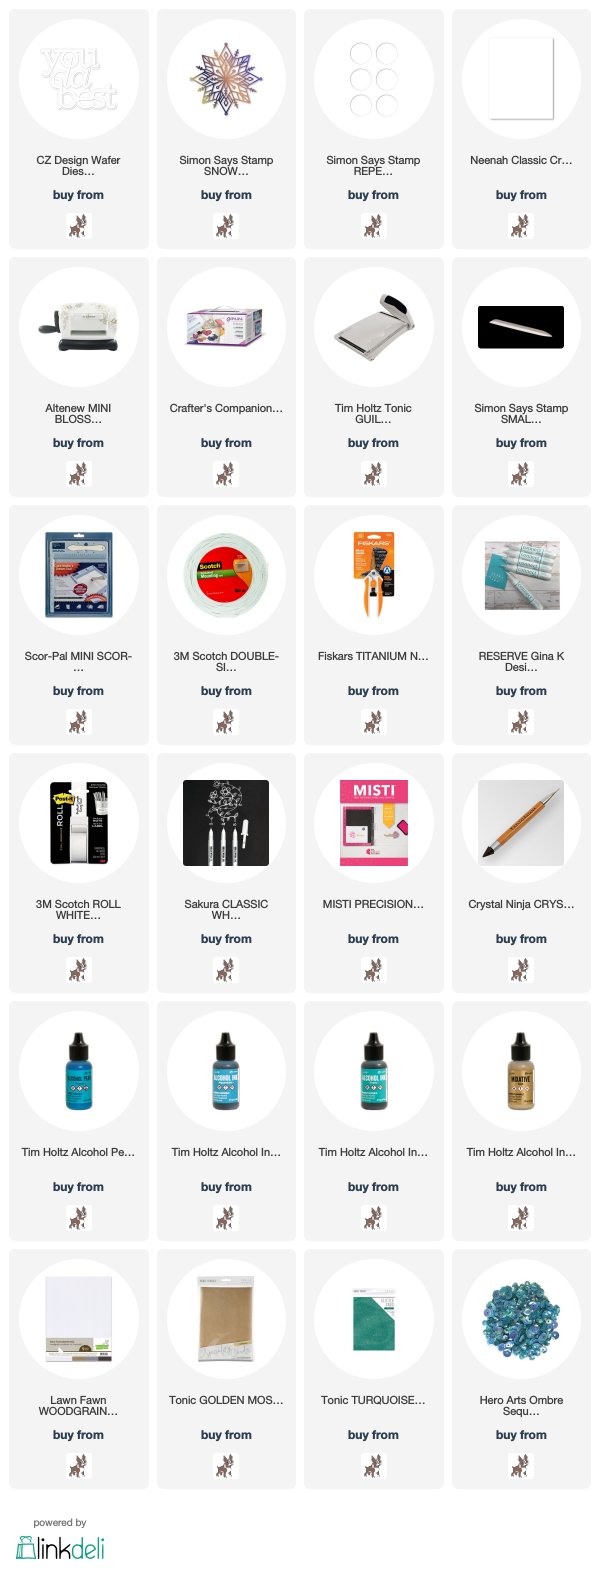
I started by playing around with some alcohol inks including the Patina color which was included in the kit. I find this so soothing, adding color and blending solution moving it around until you get a result that you are happy with.


I put the panel aside to dry and die cut my remaining elements, all by Simon Says Stamp. I die cut my repeating circles from Lawn Fawn Woodgrain cardstock and the sentiment and snowflake mandala from Tonic Specialty cardstock. I chose gold because I did add some gold mixative to my background panel.


I put everything together and added some Hero Arts Ocean sequins, some snowflakes from my stash and a Doodlebug heart.

Thanks for taking the time, products used are listed and linked below. Affiliate links used at no extra cost to you!
Kim
Wednesday, January 29, 2020

Simon Says: Anything Goes featuring Brutus Monroe!

It's Wednesday and that means it's time for a new Simon Says Stamp Wednesday Challenge!


This week Simon Says: Anything Goes!  The design team is featuring Brutus Monroe products! It isn't a requirement to use them but if you have them we would love to see them!


Come join in on the fun, you have the chance of winning a $50 gift card to the fantastic Simon Says Stamp store!


I chose to use the Brutus Monroe Lace Stencil for my card and decided that there is nothing better than a rainbow especially in the middle of January! I used Distress INK for this one on a Neena Solar white panel and my blending brushes (I don't know what I did before these blending brushes, they offer a great blend!)


I die cut my Brutus Monroe Happy Birthday from Tonic black glitter cardstock glued it to the panel and I love the pop of the black with the background.

I trimmed my panel down slightly added some Tonic purple glitter cardstock to either side of the card base.  I added fun foam to the back of the rainbow panel and glued it to the base. To finish off, I added some Studio Katia black gems!


Follow Simon Says Stamp on Instagram


Thanks for taking the time, products used are listed and linked below! Affiliate links used at no extra cost to you :)
Kim

Monday, January 27, 2020

Pink Birthday with Honey Bee!

Happy Monday crafty friends! Sharing this very pink birthday card today featuring all HoneyBee Stamps products.


I started by using the Background Builder stamp set by Honey Bee to make my plaid background using pink and gold inks. I was very happy with the way it turned out. I die cut it using one of the Deckle Edge dies.


I then stamped my flowers from the Spring Blossoms stamp set and coloured them with Copic markers using RV55, RV52 and RV00 for the pink and G18, G14 and YG11 for the leaves.

I die cut my Birthday sentiment from a mix of cardstock and embossed my Happy sentiment.


I placed all of my elements to my panel and finished with some black hearts and some Tonic Dream Drops on my flowers.

Thanks for taking the time, products used are listed and linked below. Affiliate links used at no extra cost to you!

Kim

Wednesday, January 22, 2020

Simon Says: Besotted with our Pets!

It's Wednesday and that means it's time for a new Simon Says Stamp Wednesday Challenge!


This week Simon Says: Besotted With Our Pets! The design team is featuring always fun Clearly Besotted products! It isn't a requirement to use them but if you have them we would love to see them!


Come join in on the fun, you have the chance of winning a $50 gift card to the fantastic Simon Says Stamp store!


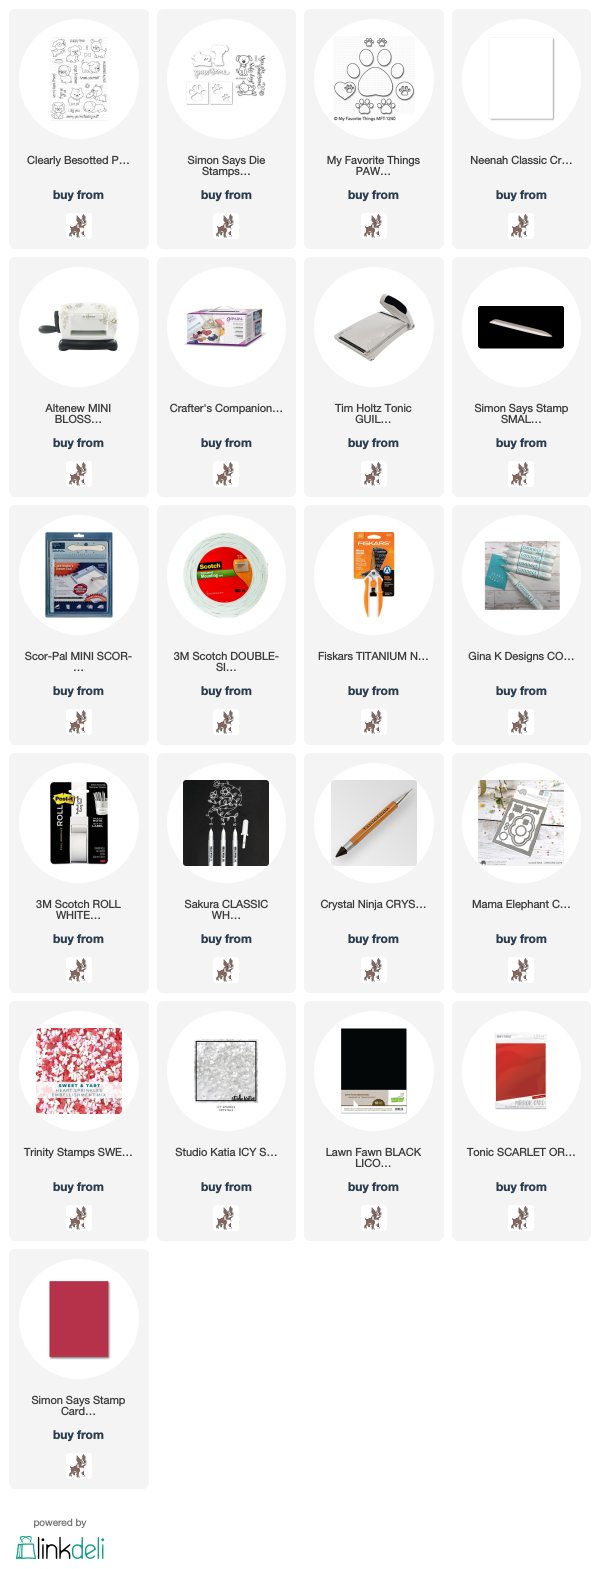
For any of you that follow me, I am a huge animal lover! My husband and I have two dogs of our own, so when I saw this weeks challenge theme I chose these sweet puppy stamps by Clearly Besotted.

I started by stamping and coloring my dogs using my Copic Markers.  I fussy cut them and put them aside to decide on my design.


I die cut my panel using my Mama Elephant Cloud Nine panel die and decided to pair my dogs with a mix of Simon Says Stamps and Dies and MFT dies.

I die cut my paws directly to the panel and backed it with Black Licorice cardstock, I then die cut  and inlayed the paw with the heart from Simon Says Stamp Schoolhouse red cardstock.


I chose the Simon Says Stamp You Are Pawsome Stamp and Die set for my sentiment . Once all was placed on my panel I added my puppies! To finish off, I added some white gel pen detail, red candy hearts and some Studio Katia gems!


Follow Simon Says Stamp on Instagram


Thanks for taking the time, products used are listed and linked below! Affiliate links used at no extra cost to you :)
Kim


Monday, January 20, 2020

Wishing you a Bottomless Birthday!

Happy Monday crafty friends! Sharing this super fun card that features My Favorite Things products. 


I had such fun making this card, I googled cocktails and found one that had a lovely mix of blue and turquoise and it completely inspired the entire design.  I die cut my cocktail glass add Post It tape to mask off what I wanted to leave as the "glass portion" and blended some Blueprint Sketch and Peacock Feathers Distress Ink. I also coloured in my umbrella and die cut the image and the accompanying bow as well.


I then used my MFT stencil duo for the card panel - blending the same colors of Distress Inks and I die cut it using my Avery Elle Wonky Stitched Rectangle Die.  

I die cut a series of the MFT Cheers Die and glued them together and put my elements on the card base.


I embossed the secondary sentiment also by MFT and added it to the panel.  To finish off, I added glossy accents, some Pretty Pink Posh Cornflower Blue Jewels and my white gel pen to the glass.

Thanks so much for taking the time, products used are listed and linked below. Affiliate links used at no extra cost to you!
Kim 

Friday, January 17, 2020

Simon says Stamp January Card Kit Snowflake Builder!

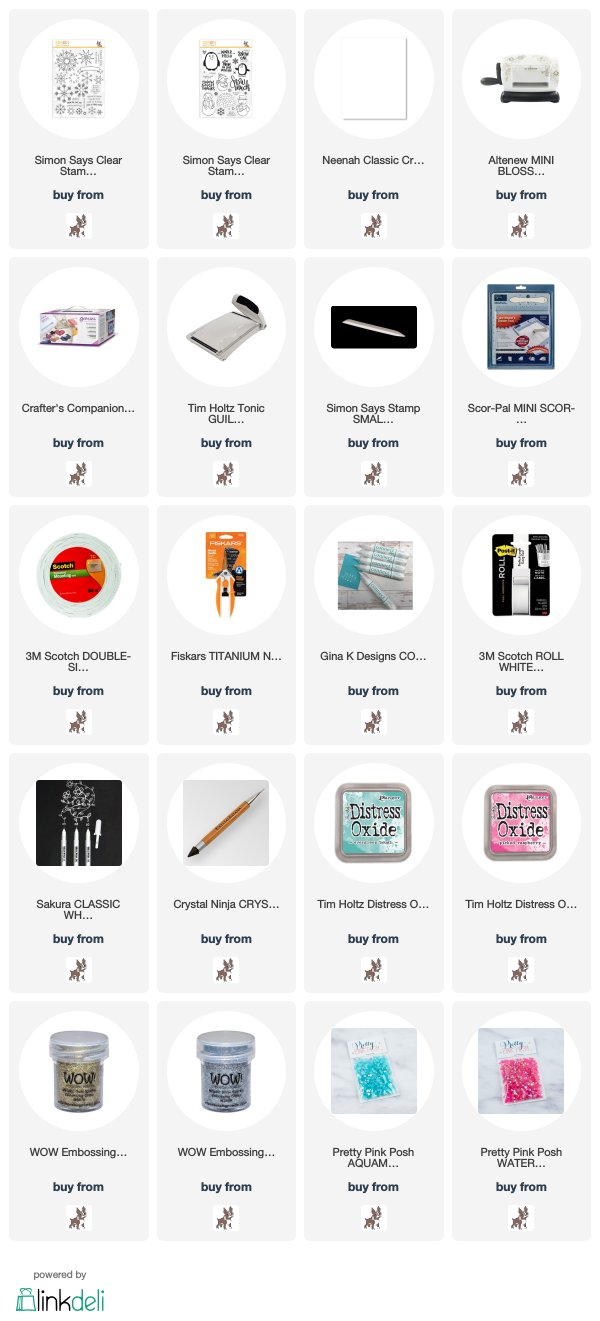
Happy Friday! I received my Simon Says Stamp January card kit this week and I couldn't wait to play! The card kit itself is sold out, but you can buy the components separately one at simonsaysstamp.com


I cut both my pink and aqua pattern paper panels first and then die cut them using my MFT scallop stitched circle.

I then started my stamping using my Misti. For the Aqua I used Evergreen Bough Distress Oxide and Wow Silver Sparkle Embossing Powder for the second layer. For the pink I used Distress Oxide Picked Raspberry (I love Oxides for stamping) and Gold Sparkle Embossing for the second layer.


I love this stamp set, these were relatively quick to put together. For the Aqua, I chose the Simon Says Stamp CZ Design Thank you and the accompanying sentiment is from the Snowflake Builder Stamp Set.


For the pink, I chose last years Snow Much stamp set for both sentiments. I love the font on the Snow Much sentiment and the scale.

To finish off both, I used some Pretty Pink Posh Jewels!


Wednesday, January 15, 2020

Simon Says: Use a Stencil!

It's Wednesday and that means it's time for a new Simon Says Stamp Wednesday Challenge!


This week Simon Says: Use a Stencil! The design team is featuring always beautiful Altenew products! It isn't a requirement to use them but if you have them we would love to see them!


Come join in on the fun, you have the chance of winning a $50 gift card to the fantastic Simon Says Stamp store!


When you think Altenew, you think flowers and considering we are now mid-January a pretty mix of pink and coral is needed! I always love a partial stencil when using a flower so forgive me if I am CASE-ing myself but this is one of my favourite mixes and I do tend to use Altenew flowers for this type of card.


If you follow me, you know that I love to color! So, I don't often use layered stamps, but this Hope bloom by Altenew is one of my favorites for both design and scale. I just love this one so much, so I felt it was perfect for this week's challenge.

This card was simple enough to put together, I started by stamping my flowers and leaves using my Misti - of course with some Altenew cube ink (listed below). I die cut the images and set them aside.


I took my Altenew Halftone Stencil (I love a good polka dot) and blended some Abandoned Coral Distress Ink on my Neena Solar White panel.  I die cut it using my Mama Elephant Cloud Nine Background die. I  used foam tape for the main flower and glued the remaining elements flat to the card.

I used the French Altenew Labels (I am half French Canadian and I often need French cards) and used foam tape for that as well. To finish off, I used some iridescent sequins by Little Things by Lucy!


Follow Simon Says Stamp on Instagram


Thanks for taking the time, products used are listed and linked below! Affiliate links used at no extra cost to you :)
Kim


Monday, January 13, 2020

You are Loved!

Happy Monday crafty friends! I received my Simon Says Stamp December Card Kit last week. This is my Canada Post saga continuing! lol. I absolutely needed to play with this Simon Says Stamp Gnome die so I  turned him into a valentines Gnome.


I started by creating my own stencil with some die cut hearts that I had in my stash with some Gina K. masking paper (best masking paper EVER!!!) I then blended a mix of Festive Berries, Fired Brick and some Aged Mahogany Distress Inks over my masked stencil.  Before removing the masking paper, I sprayed some glitter spray over the hearts for some fun Shimmer!

I put my panel aside to dry properly and die cut my elements for the gnome using some Honey Bee 6 x 6 pattern paper that looks like a red sweater. I die cut him again from Neena and pink cardstock from my stash for the sweater inserts.  I coloured in the beard and nose with some of my Copic markers and put him together. 


I used this fabulous sentiment from the Simon Says Stamp You are Loved release and die cut it from the same pink cardstock and added a bit of Picked Raspberry Distress Ink to the top.

I put all of my elements on the panel and added some hearts from my stash, glossy accents to the sentiment and some white gel pen detail!


For my second card, I wanted the You Are Loved sentiment to be the star, I created my panel from 1/4 inch strips of cardstock and glued them to some copy paper that was cut to 4.25 x 5.5 and cut the excess off. I then used my Simon Says Stamp thin frame and die cut the panel and die cut some Tonic gold specialty cardstock. Put everything together on my card base, added my sentiment using foam tape and finished off with some hearts from my stash and some Tonic Nuvo Drops!

Thanks so much for taking the time! Products used are listed and linked below, affiliate links used at no extra cost to you!
Kim


Friday, January 10, 2020

Honey Bee Spring Blossoms with Polychromos Pencils!

Happy Friday crafty friends! Today I am sharing some Honey Bee Spring Blossoms today using my Polychromos pencils :)


The inspiration for this card came from the pattern paper on the sides, it is from the Craft Consortium Eastern Influences 6 X 6 paper pack that I found at Simon Says Stamp.  The colors and patterns are simply gorgeous! 

I often use turquoise for my projects but purple still evades me, this pattern paper helped. I hadn't used my Polychromos pencils in a while so I decided to go with them with my Honey Bee Spring Blossom flowers.


I used my Misti to stamp my flowers and leaves (I knew I wanted to go back and gold emboss them after I was finished coloring) on Kraft paper and started by using my White pencil on all of my images and then went back to finish with three colors in the same families.

Once that was complete I went back and stamp everything with Versamark and added some Antique Gold embossing from Simon Says Stamp. I die cut my images and set them aside.

I trimmed two stripes on the pattern paper and glued them to the card base. I trimmed my white Neena panel and used an embossing folder to add interest. I adhered the panel using foam tape to the card base. 


I chose the Honey Bee Enjoy sentiment and die cut that from some Tonic Specialty paper. I glued my sentiment first and then placed all of my flowers and leaves. I glued some flat to the panel and some with foam tape for interest.

To finish off, I added some Gold Tonic Dream Drops to the flower centres and some Studio Katia Jewels.

Thanks so much for taking the time! Products used are linked and listed below, affiliate links used at no extra cost to you!

Have a great weekend, I hope you get crafty time!
Kim